- Date of Incident
- None
- Location
- Al-Ahli Hospital, Gaza City
- Publication Date
- 09 Dec 2024
- Commissioned By
- Open source contributors
- Additional Funding
- None
- Collaborators
- None
- Methodologies
- 3D Modelling
- Forums
- —
- Exhibitions
- —
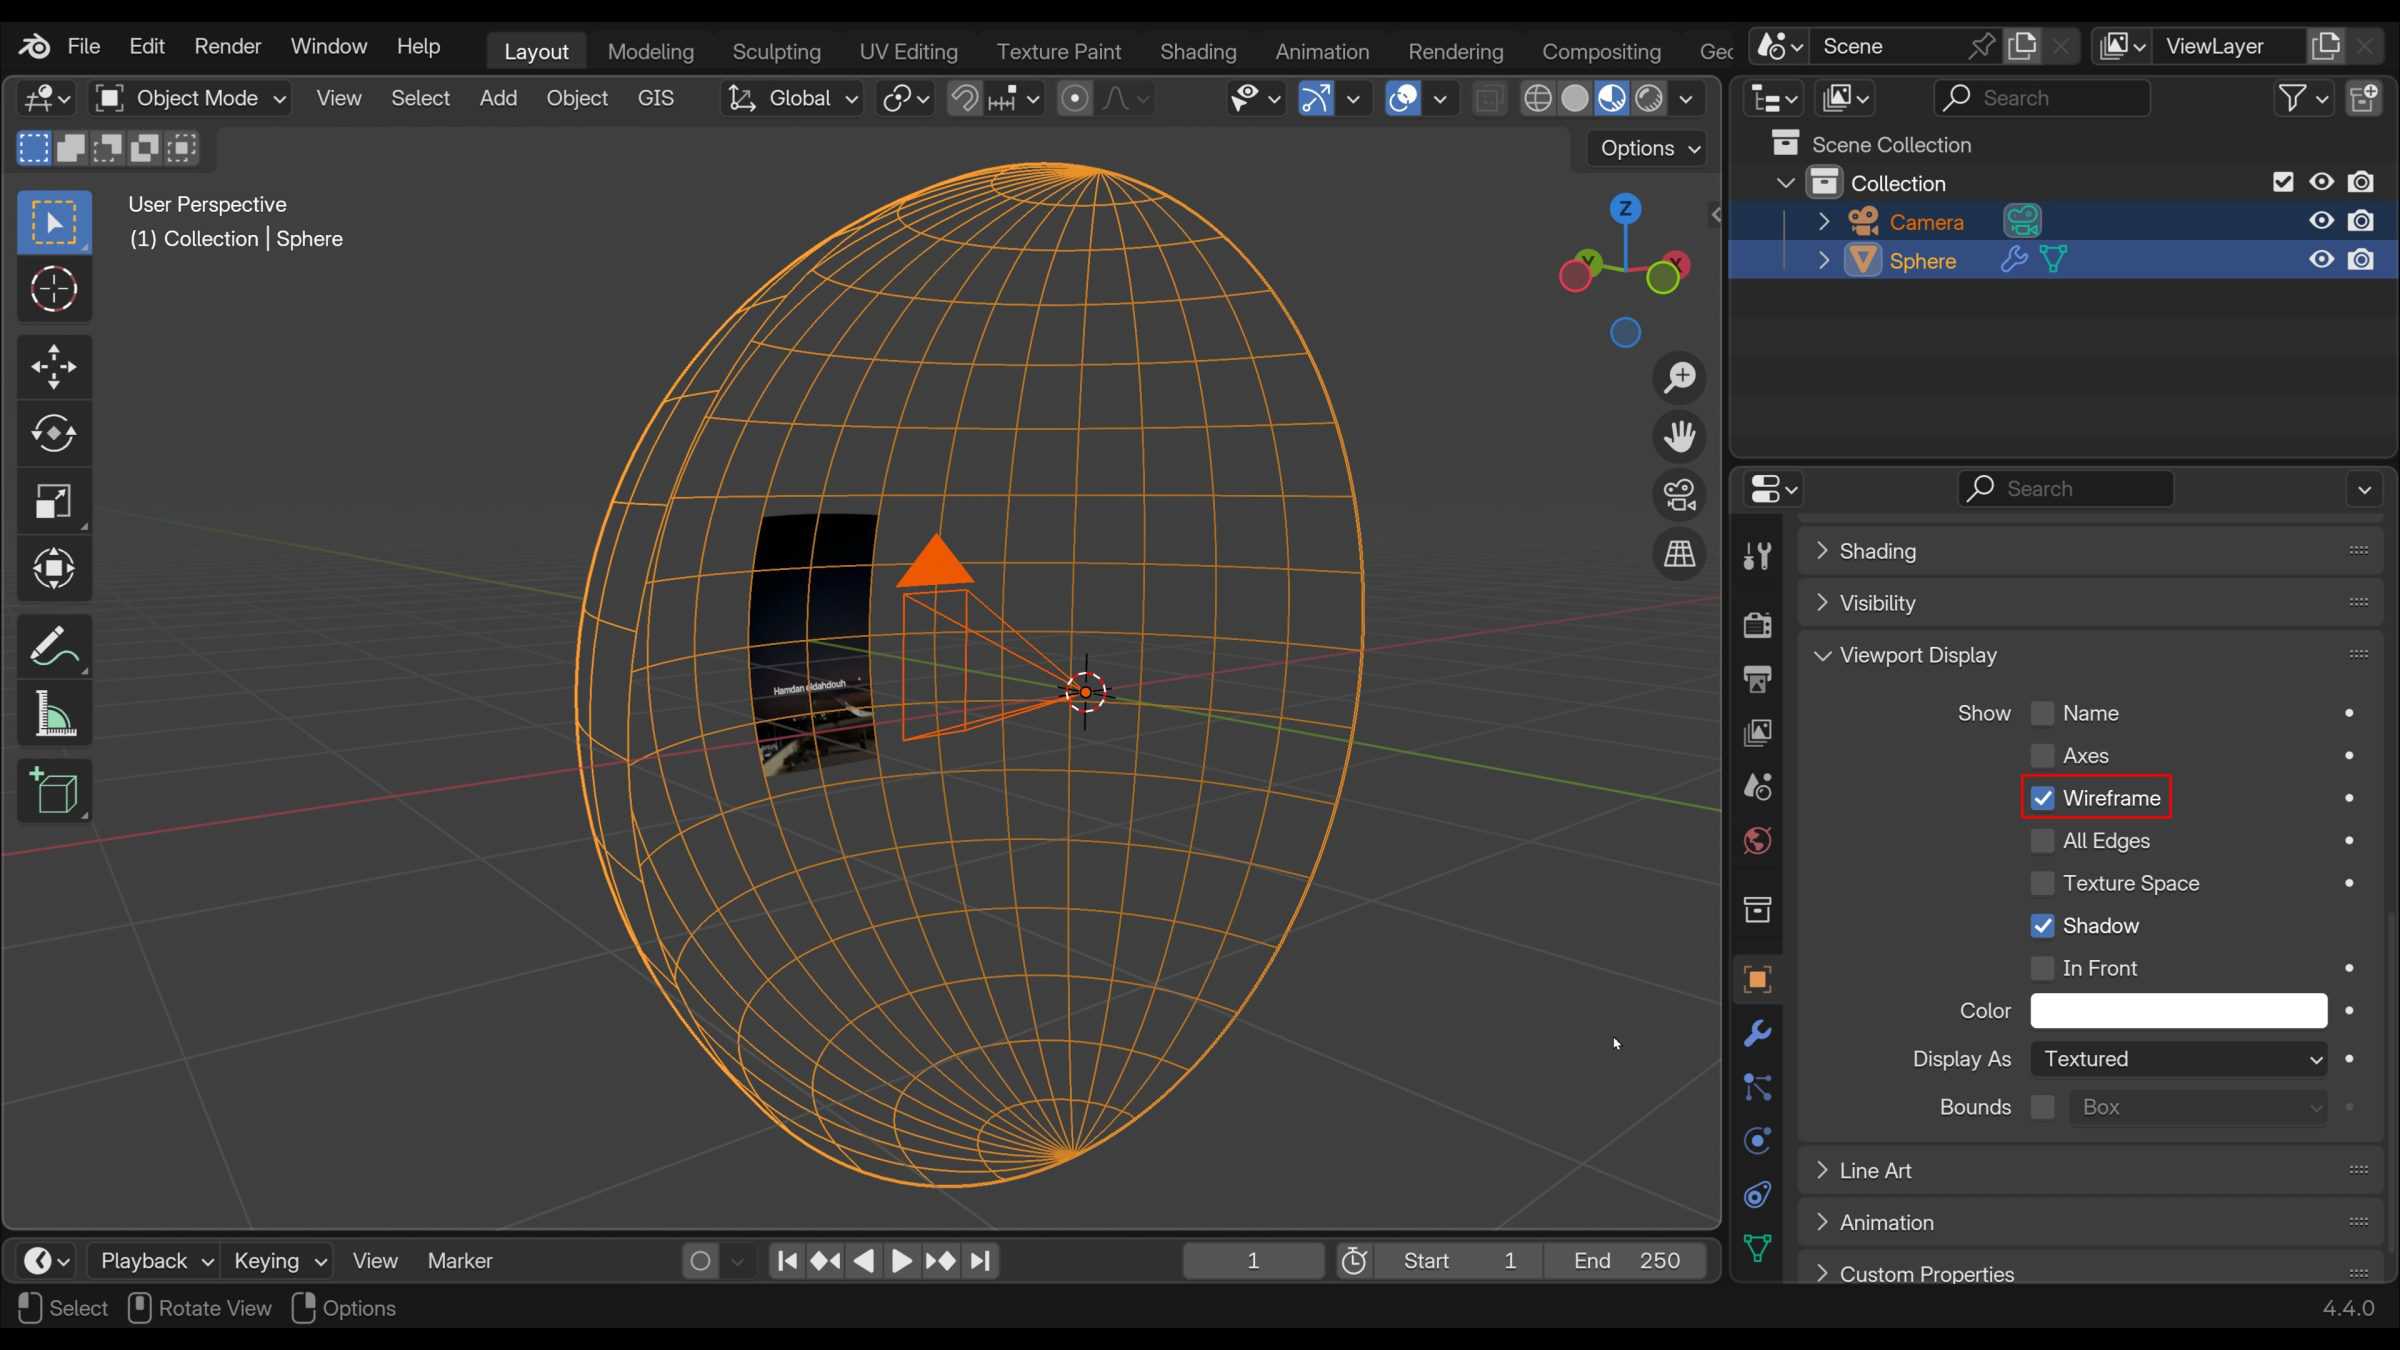
On 17 October 2023, a devastating explosion took place in the car park of al-Ahli Hospital in Gaza City. The blast was captured by an Al Jazeera news crew from the rooftop of a hotel west of the hospital. In this article we aim to show how we stabilised and reprojected the footage to understand the trajectory of the bright light in the sky.
For context, see our full study Israeli Disinformation: Al-Ahli Hospital.
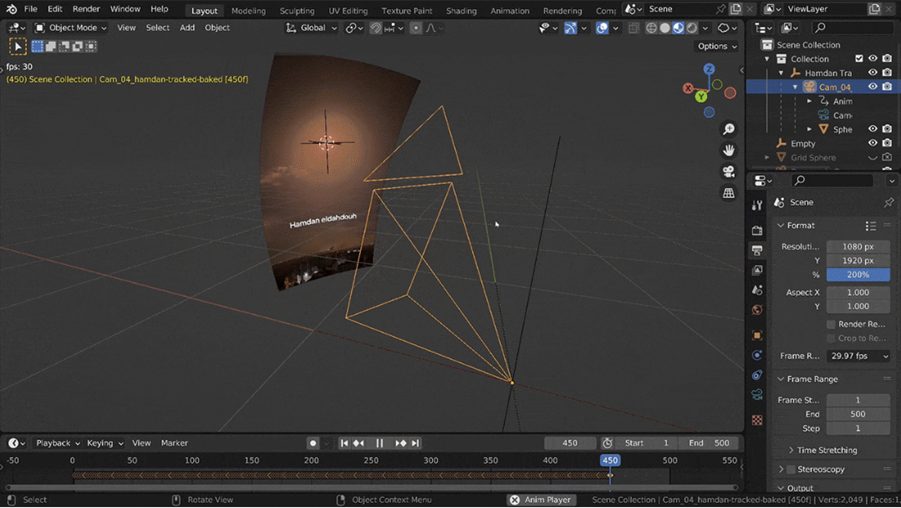
Motion Tracking Process in Blender
- Set the workspace to ‘Motion Tracking’.
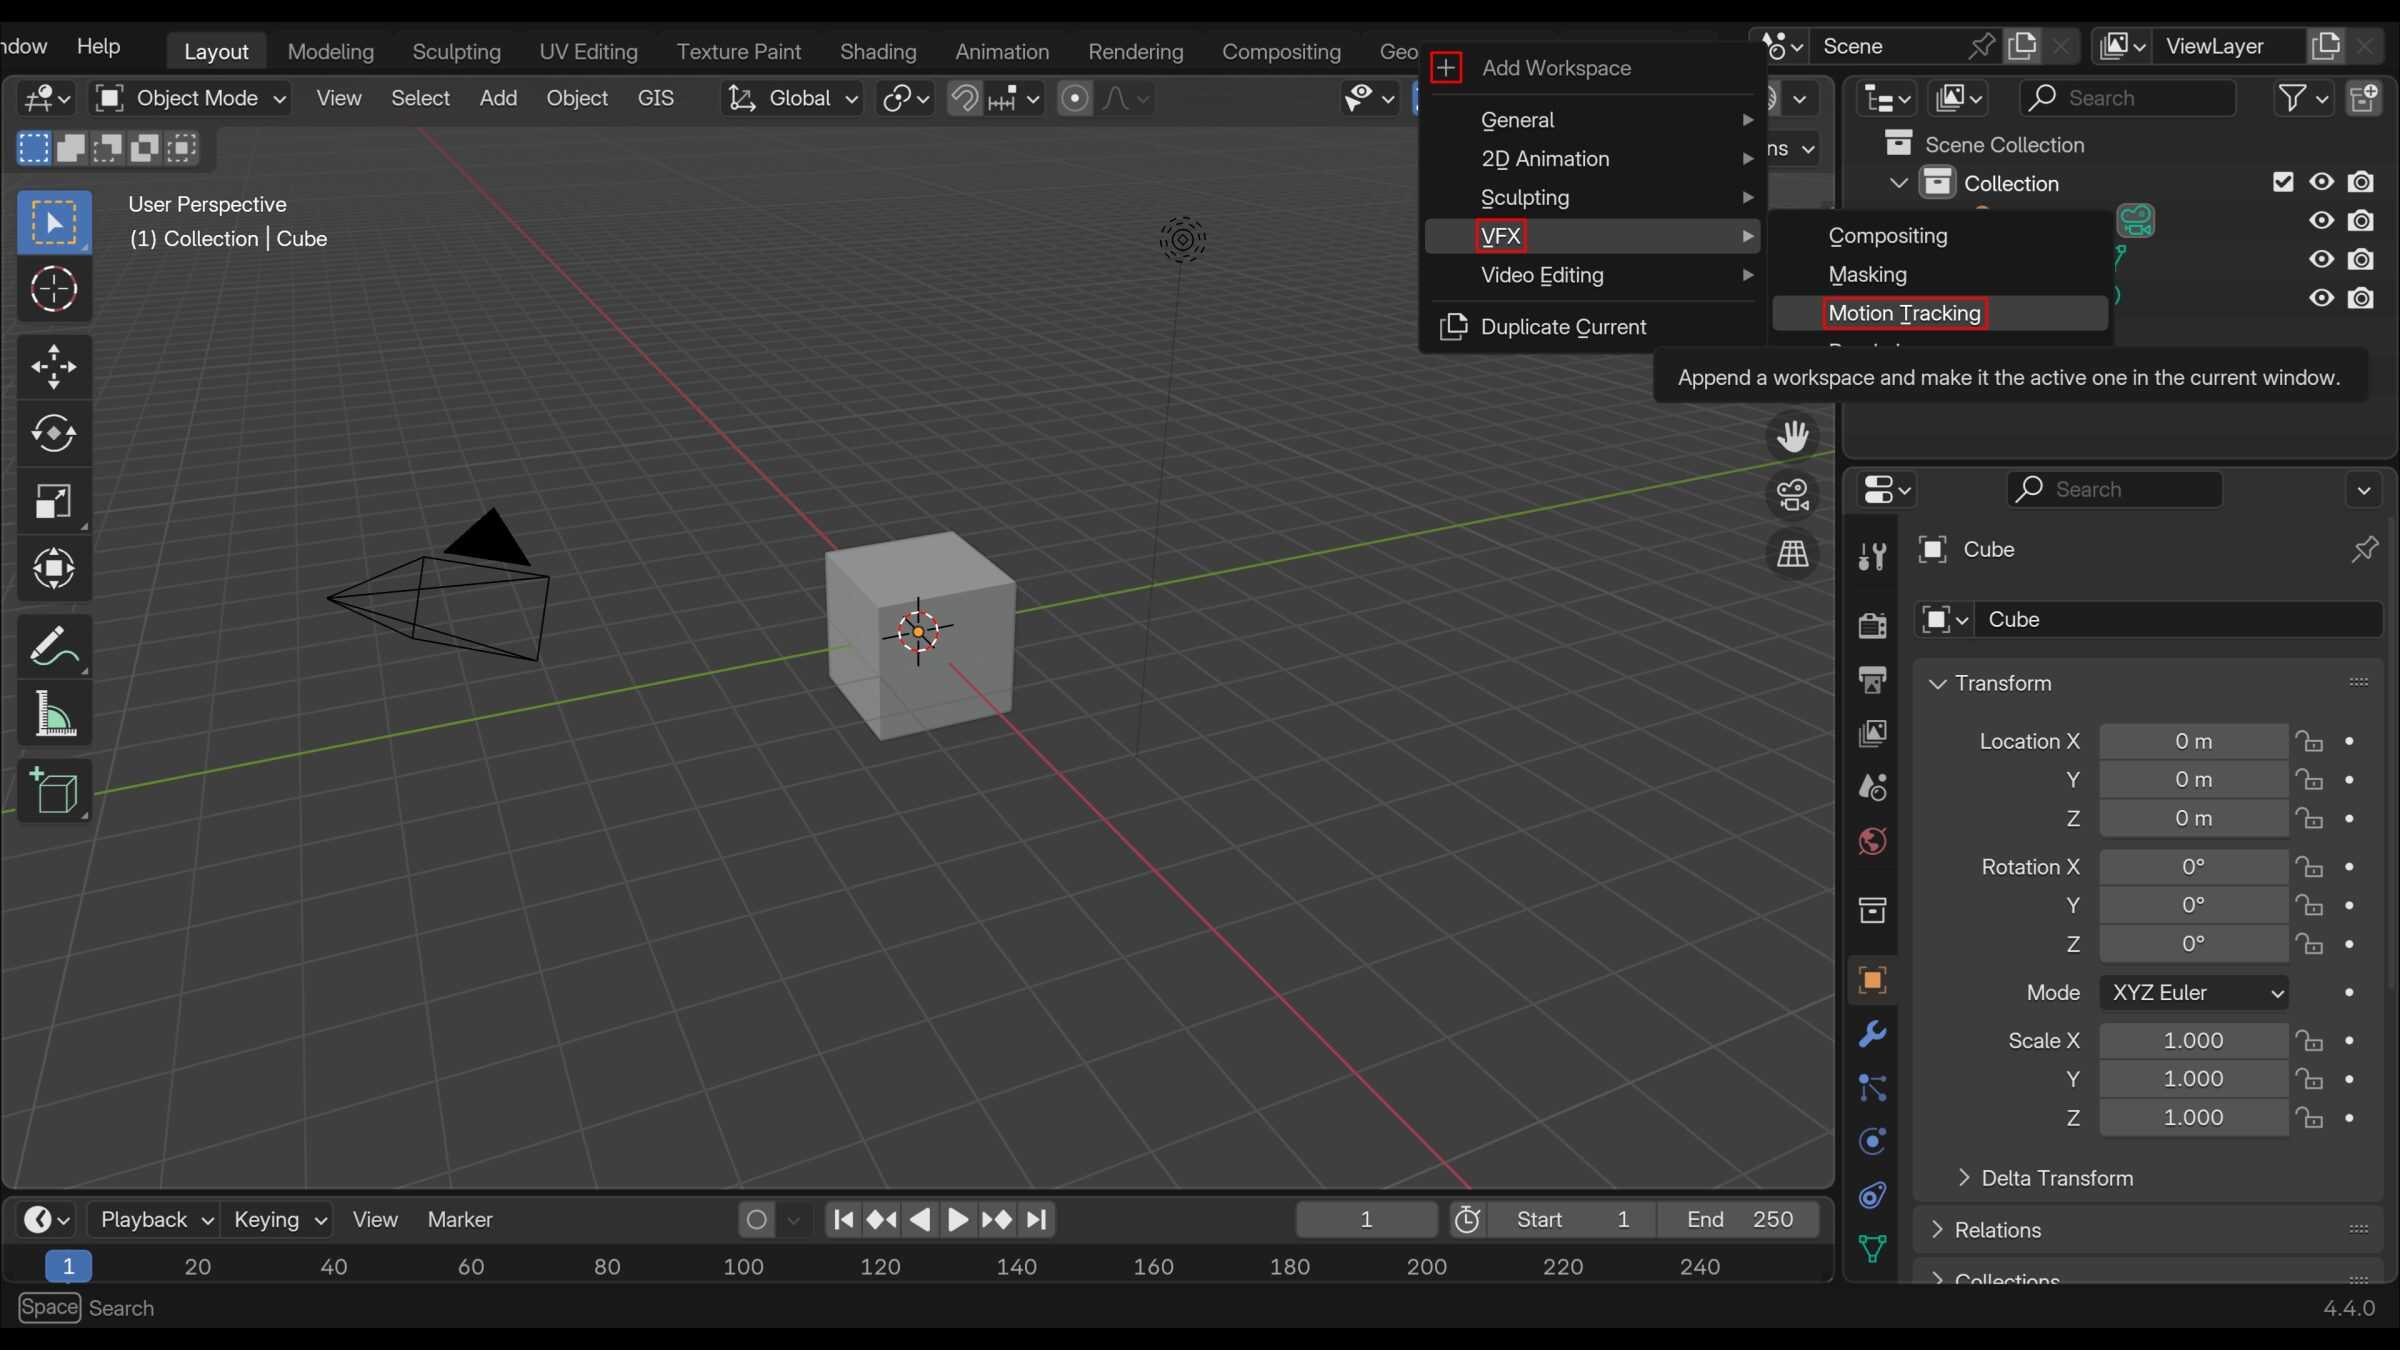
2. Open a video and set the scene frame range to match the video clip.
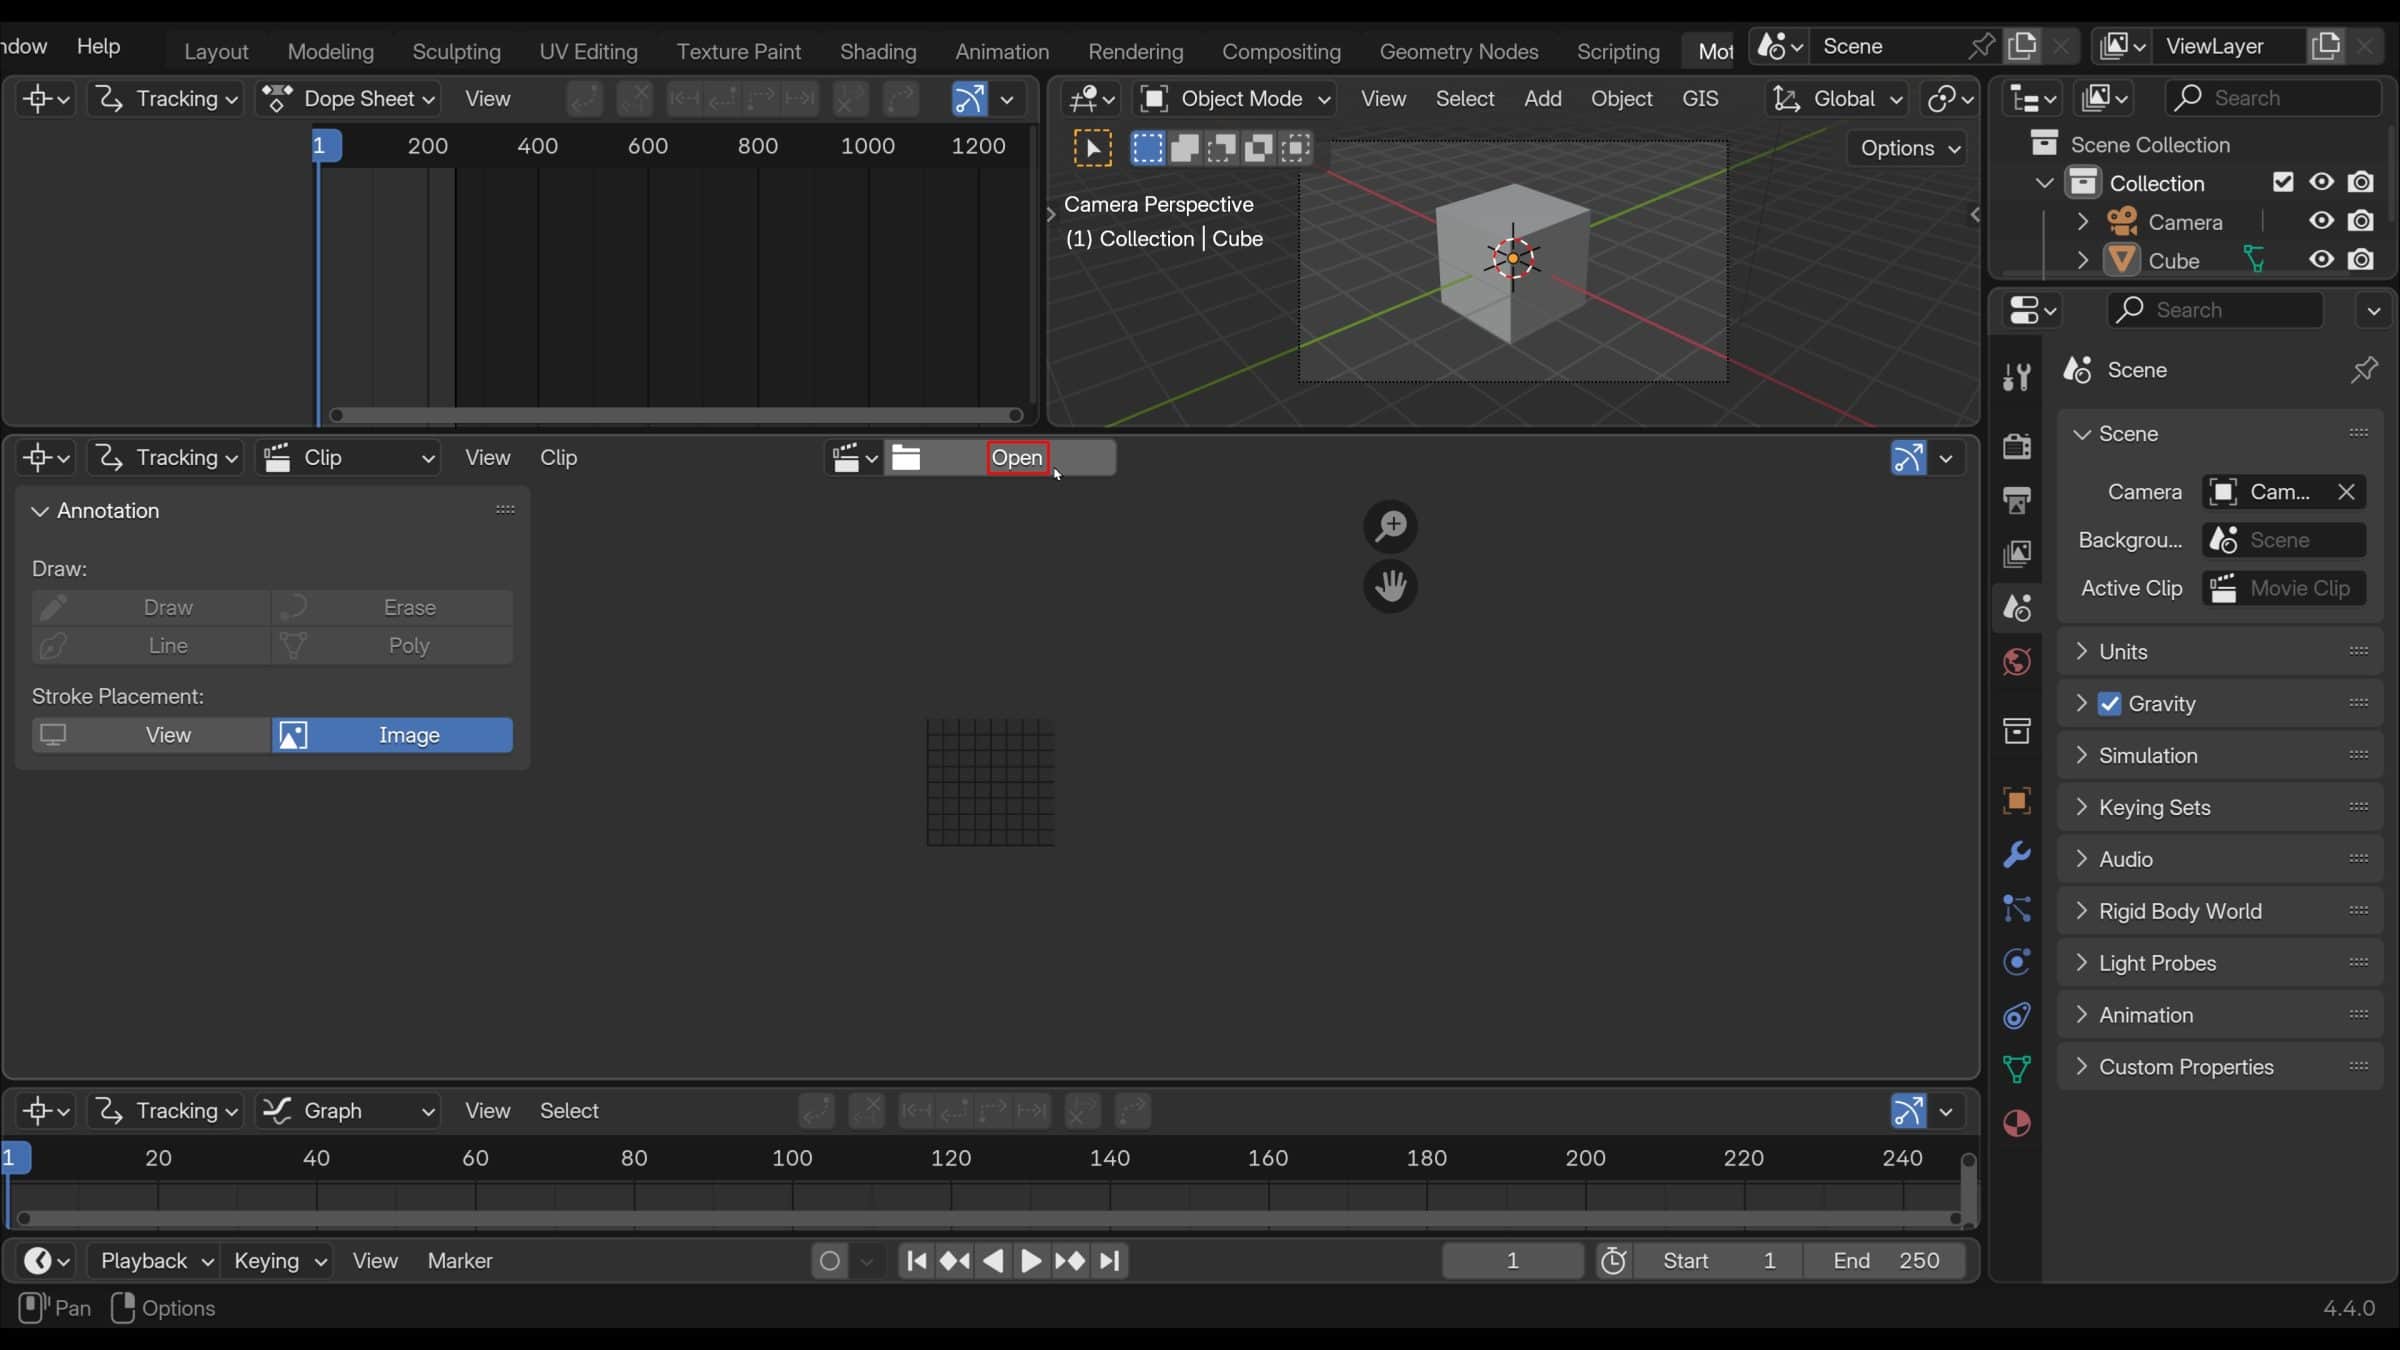
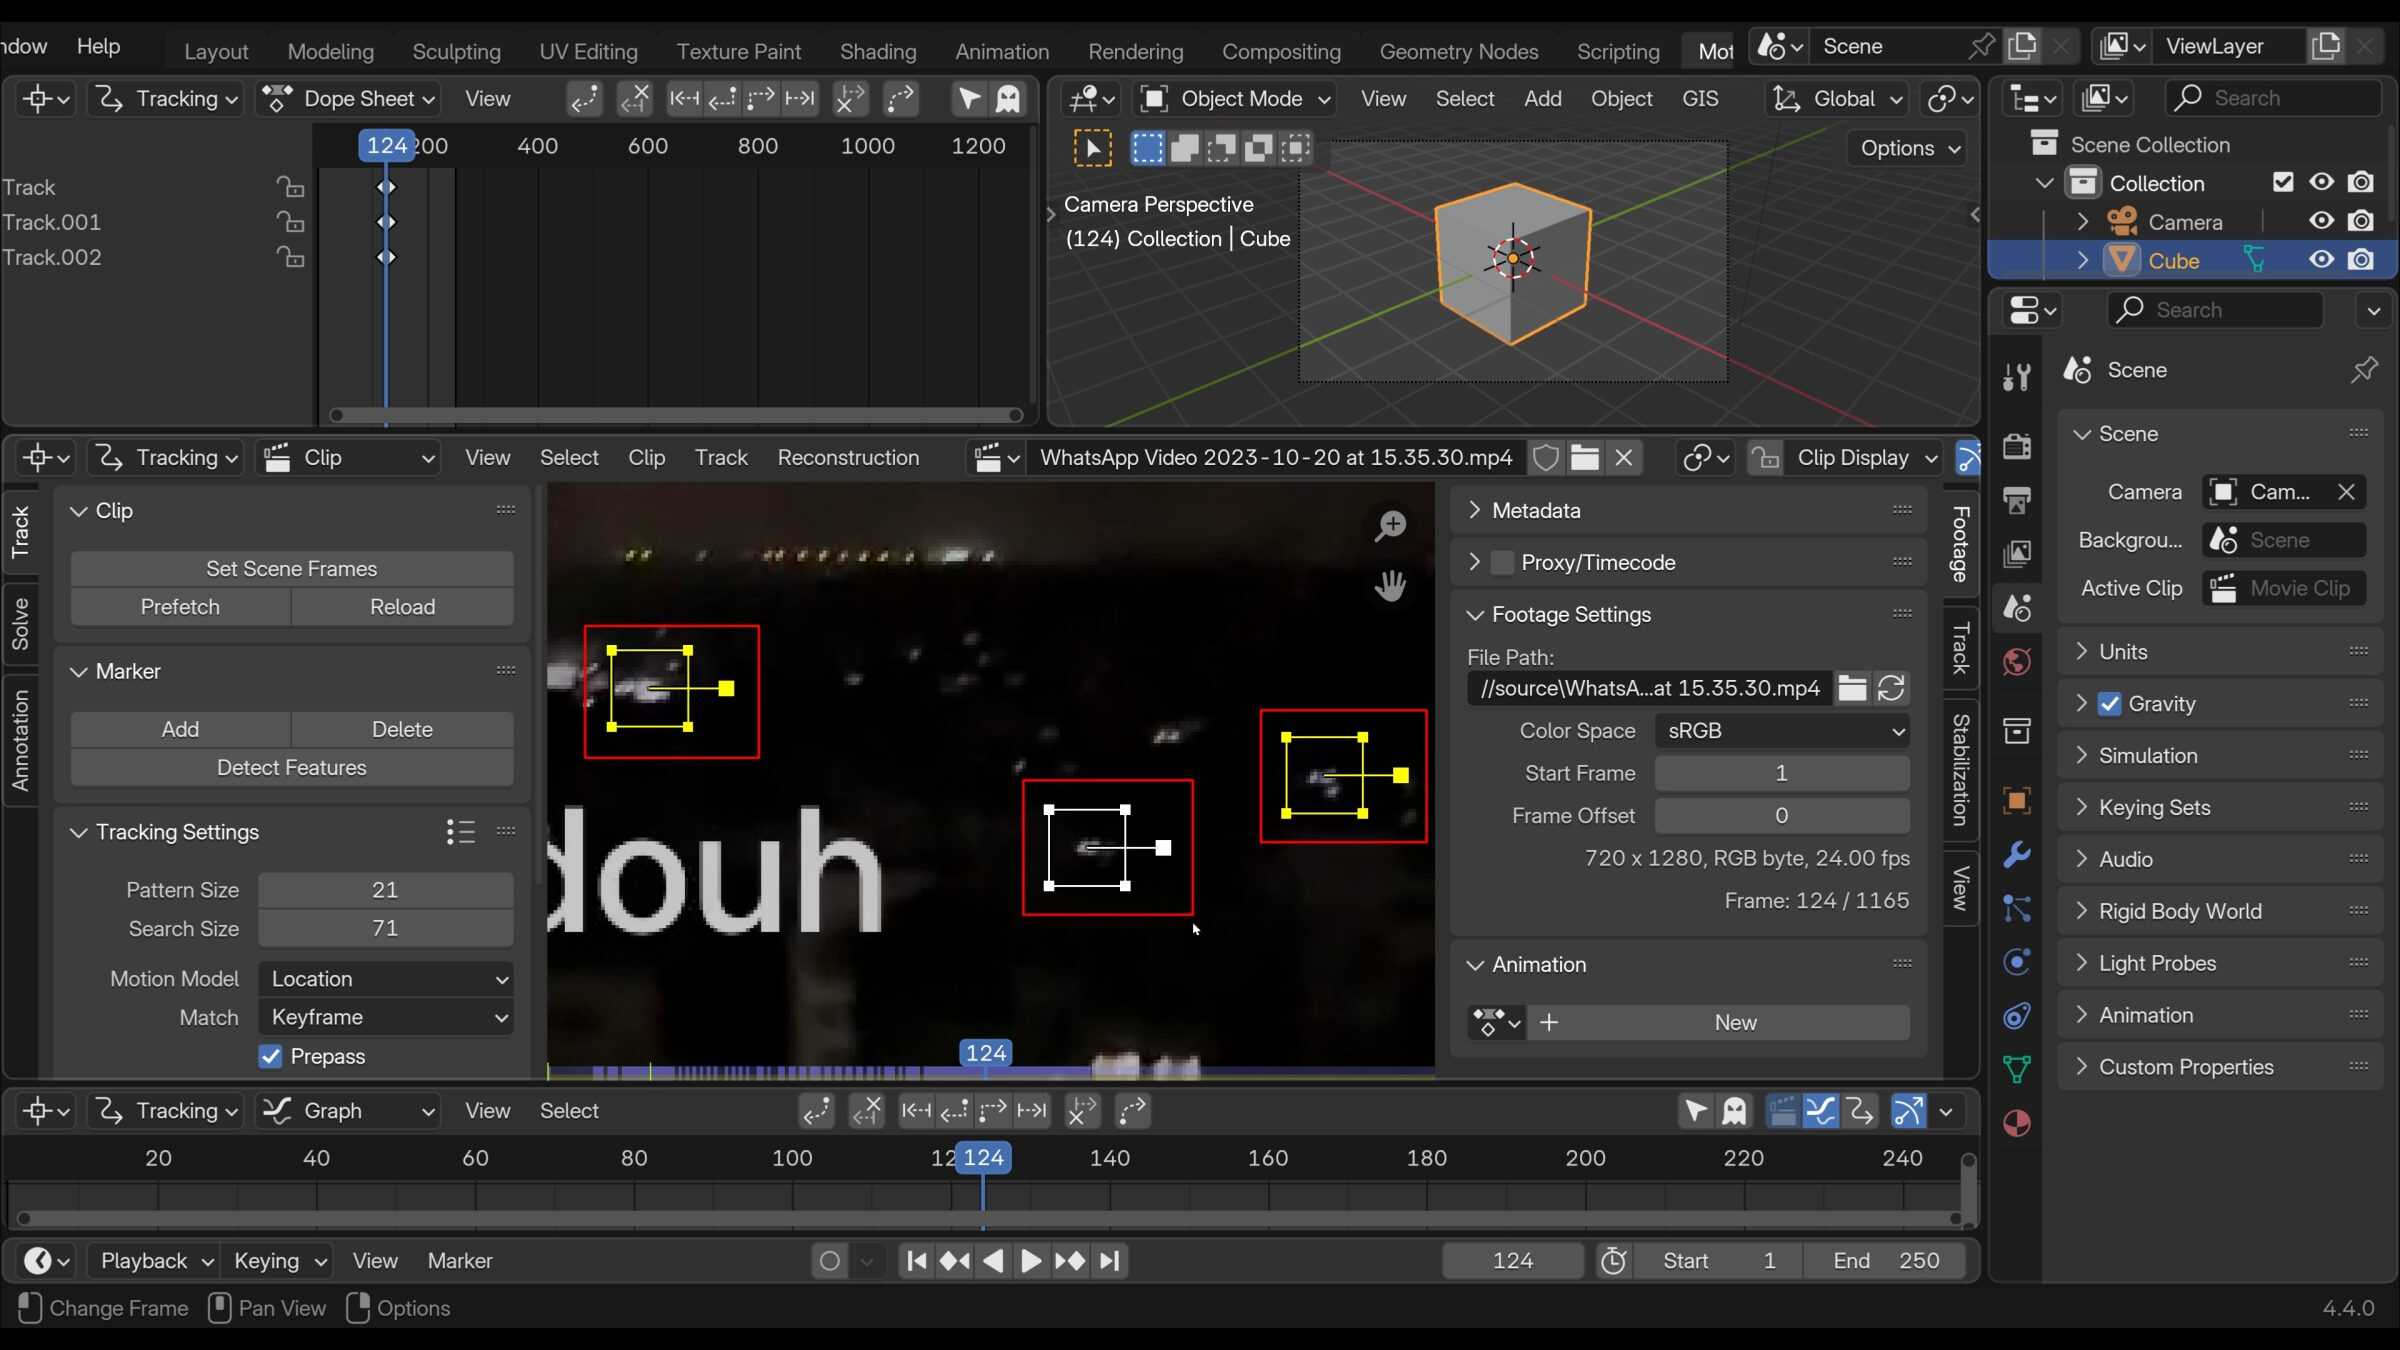
3. Pick tracking points that are bright, have good contrast, and are visible for a decent duration in the footage. Create tracking markers by control-clicking on the points and scaling the markers appropriately.
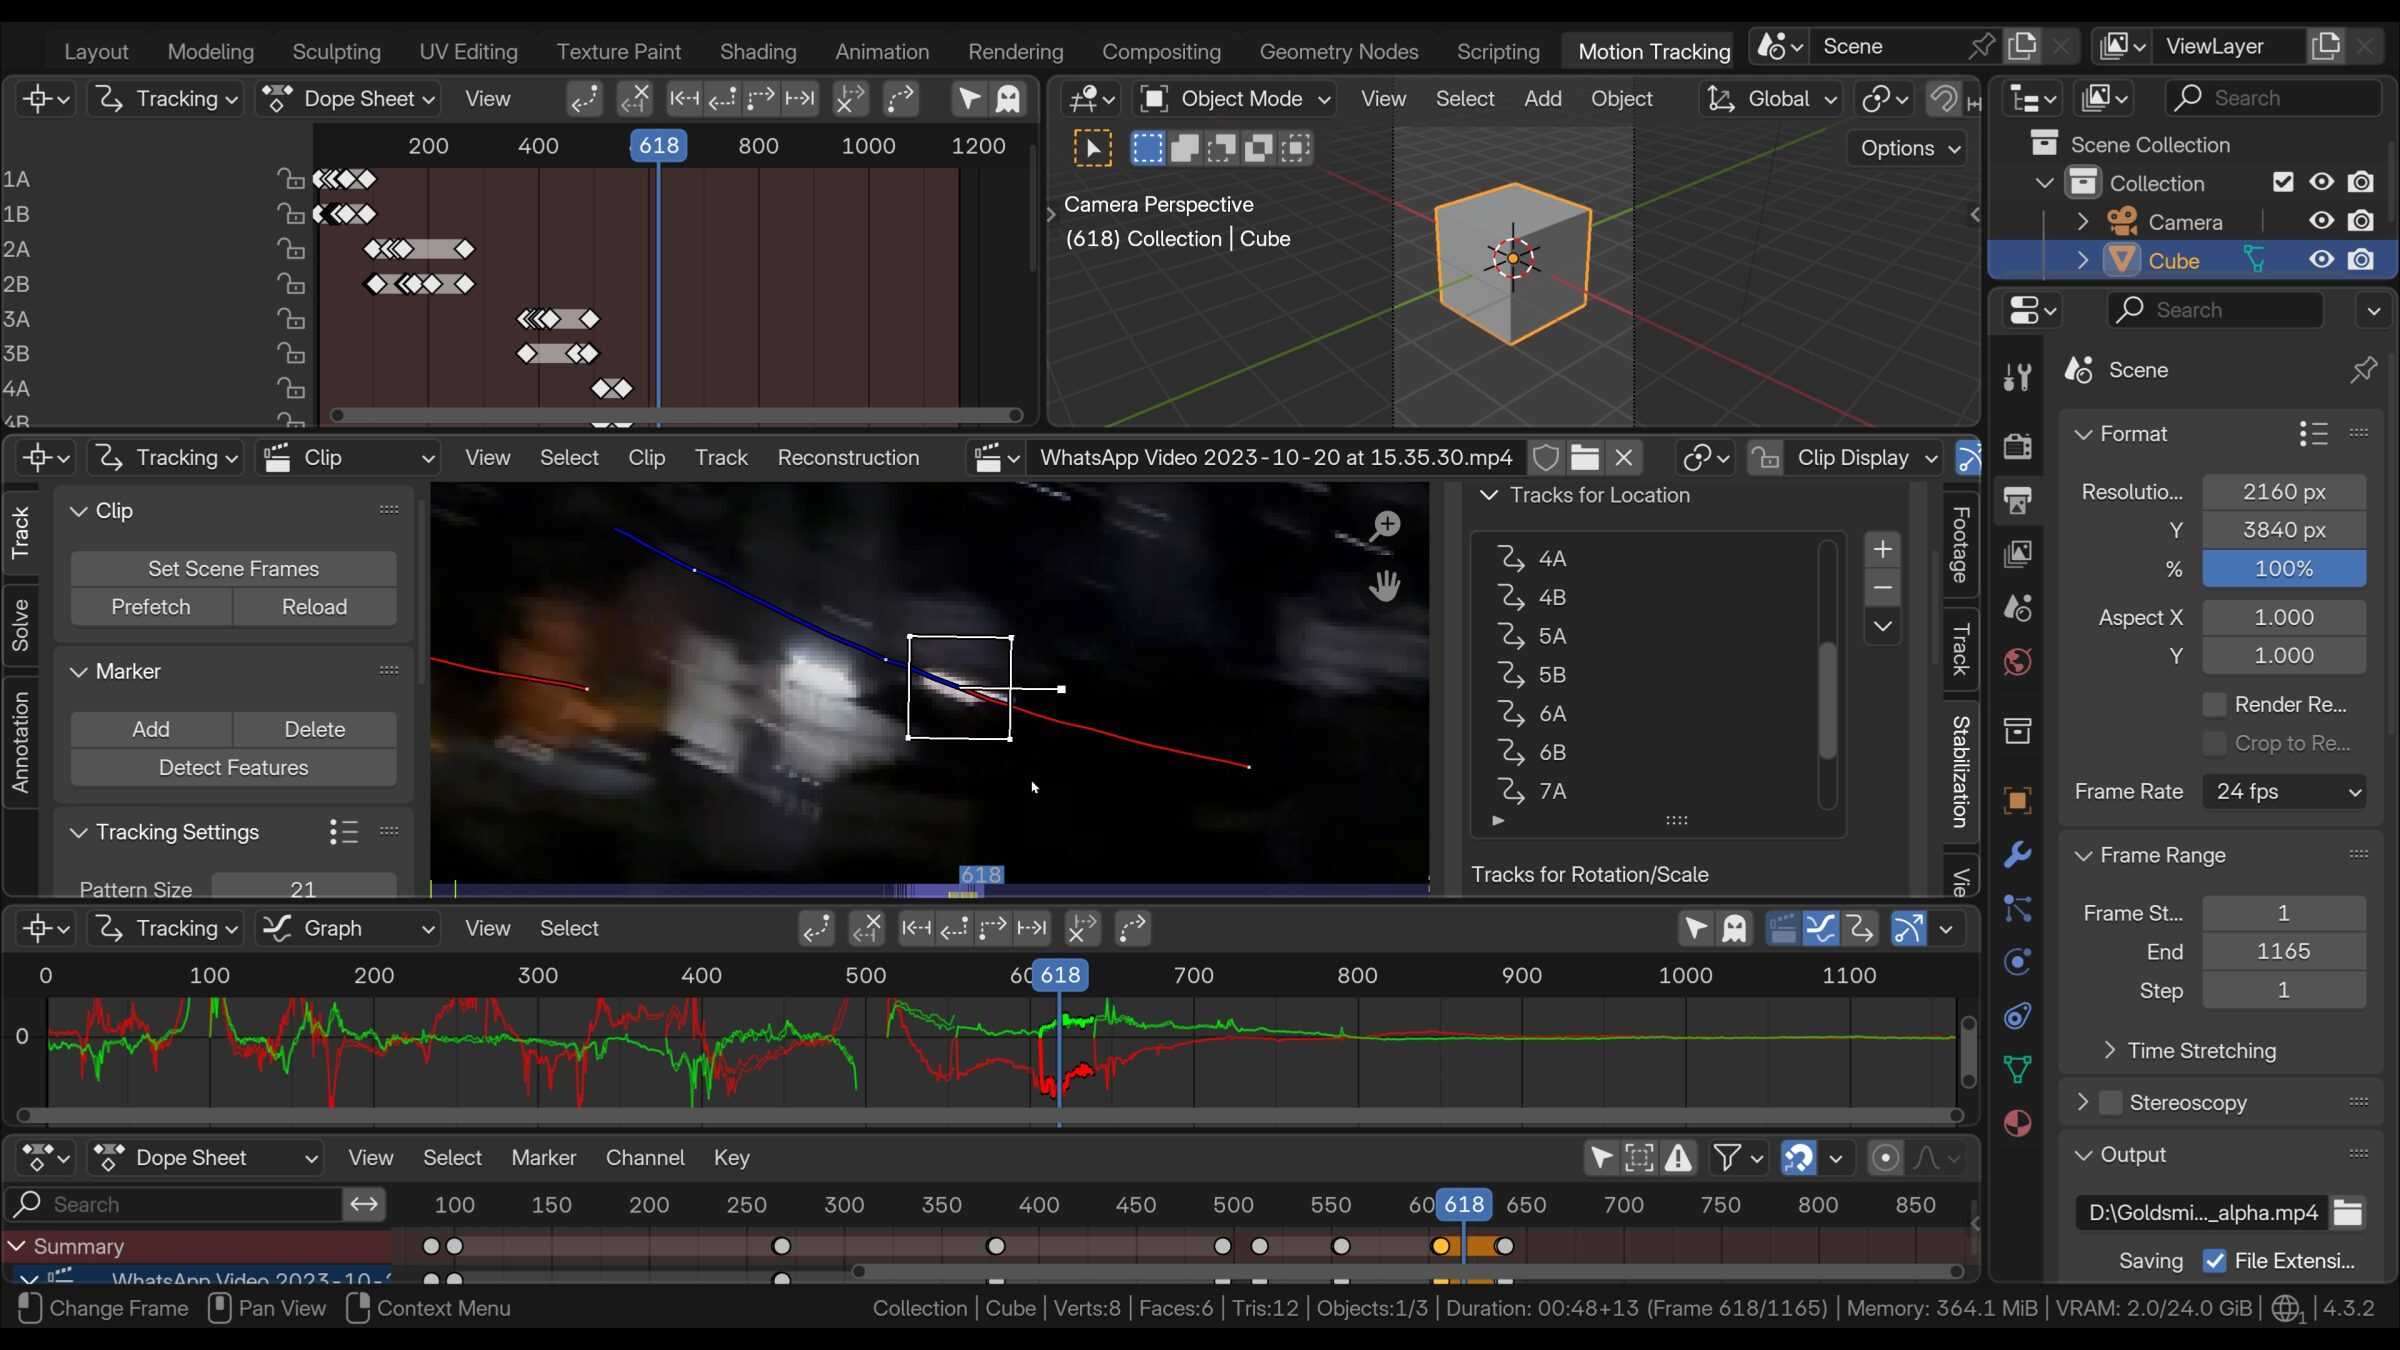
4. Track the markers forward (or backward) frame by frame, adjusting and recentering the markers when needed to account for blur, motion, etc.
5. Aim for at least 2-3 well-tracked features spread apart in the scene for better spatial resolution.
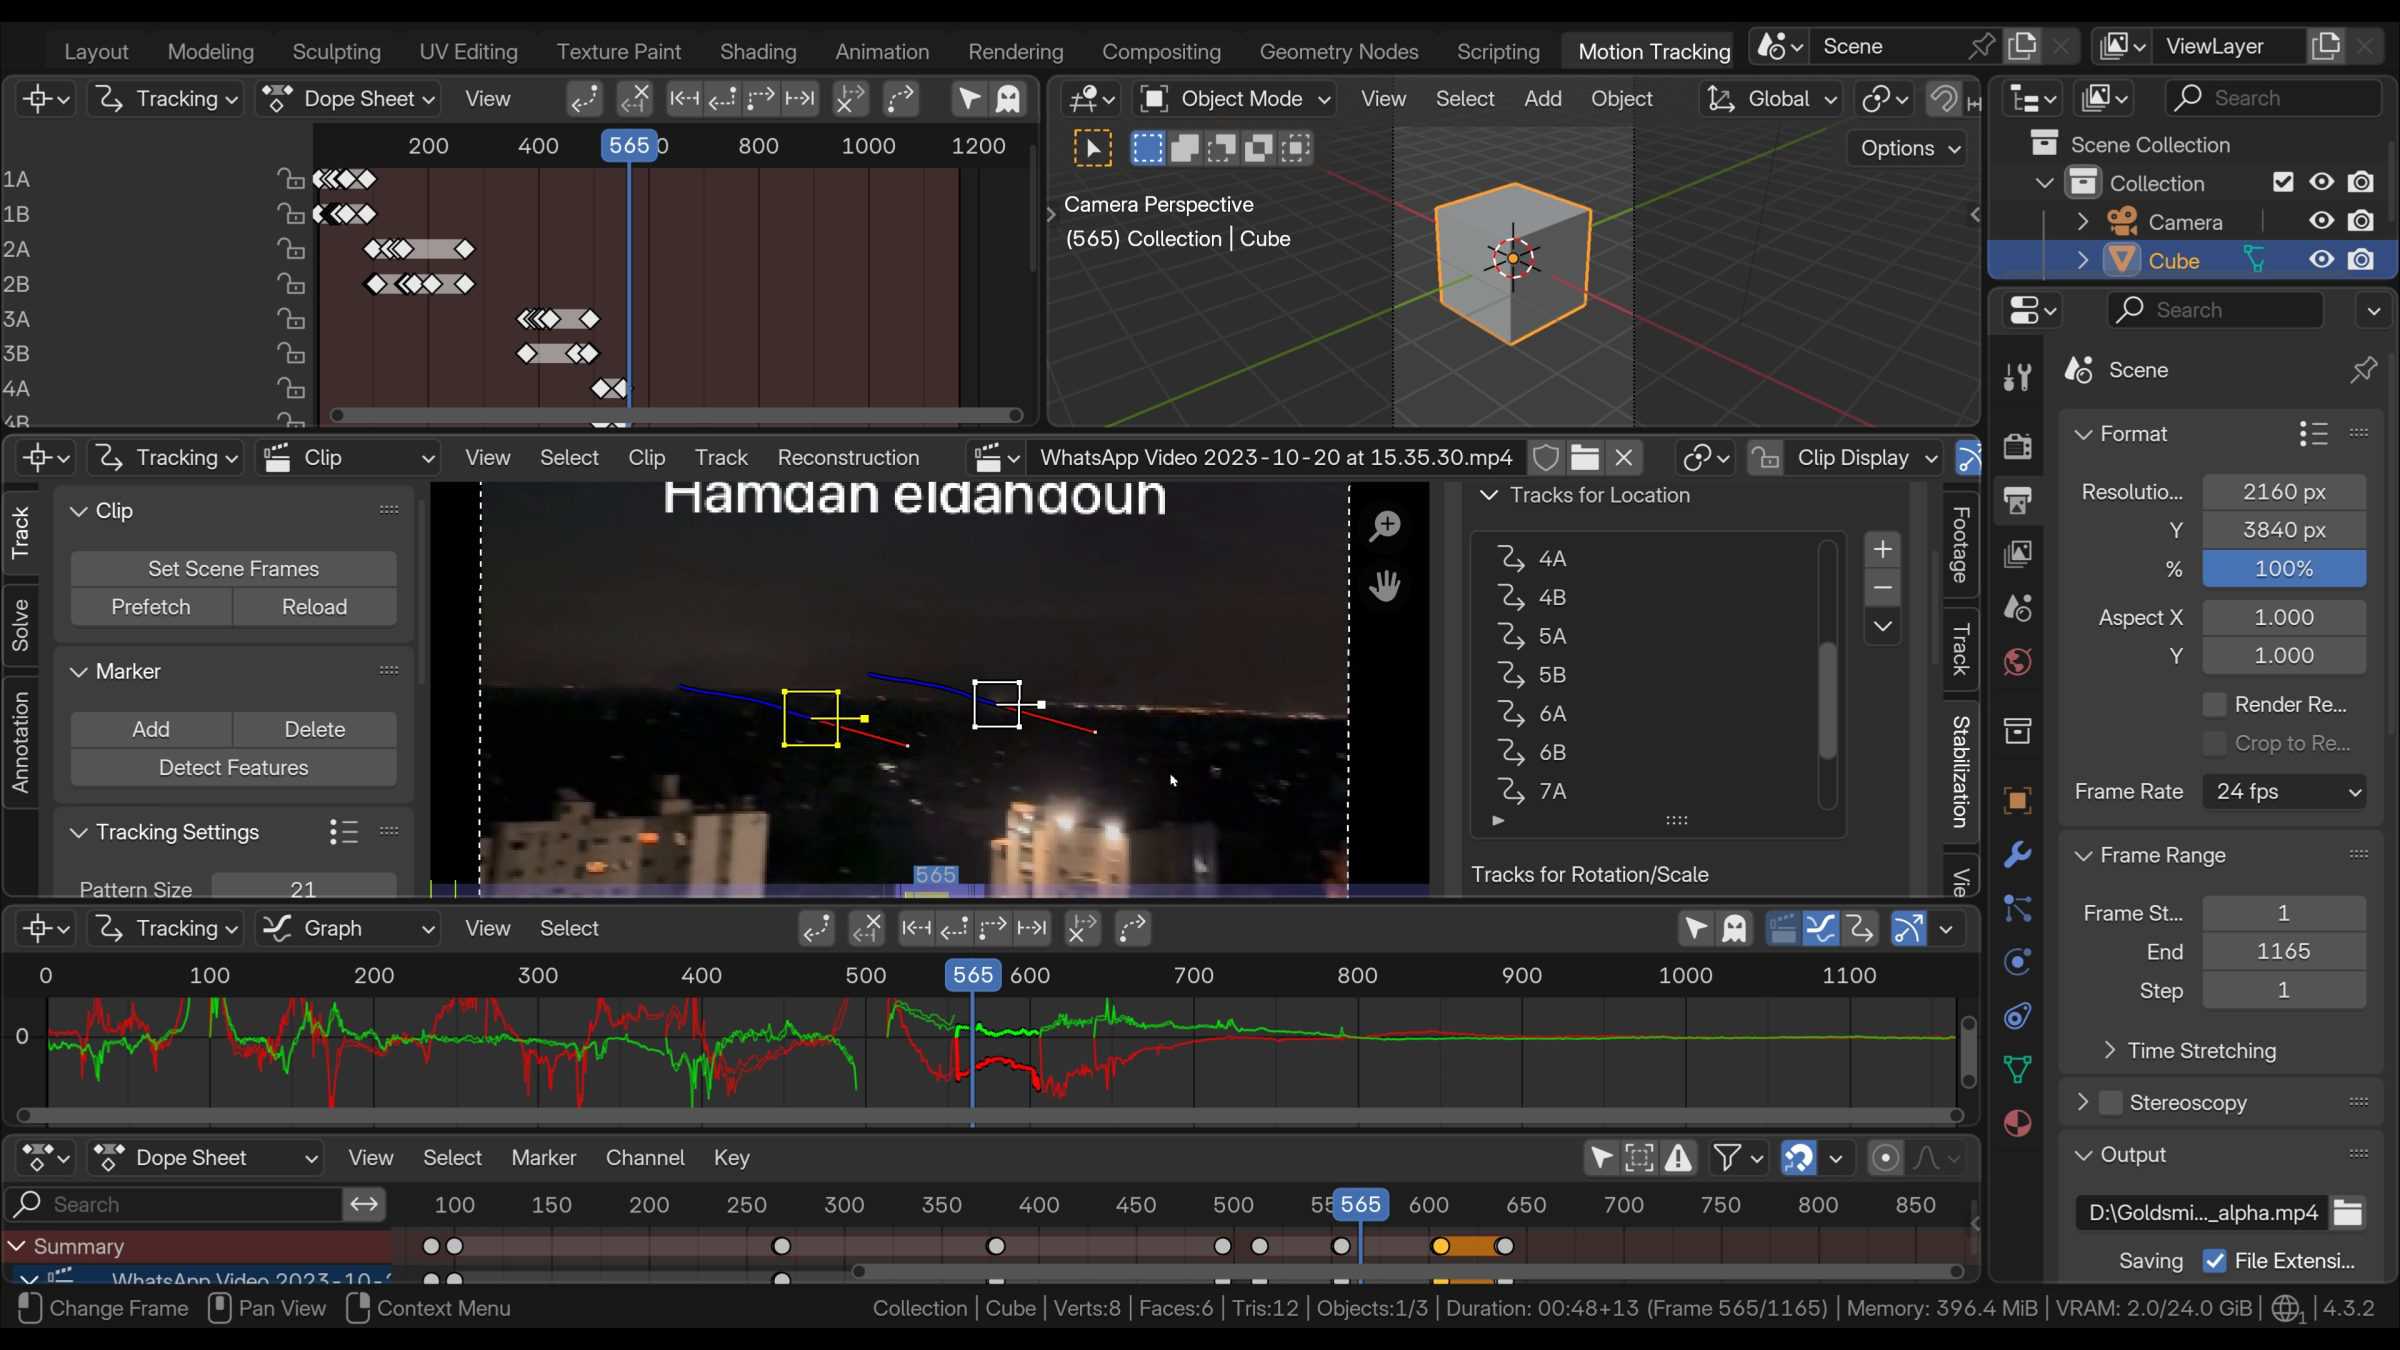
6. Solve the camera motion based on the tracked features, enabling tripod pan, and focal length refinement.
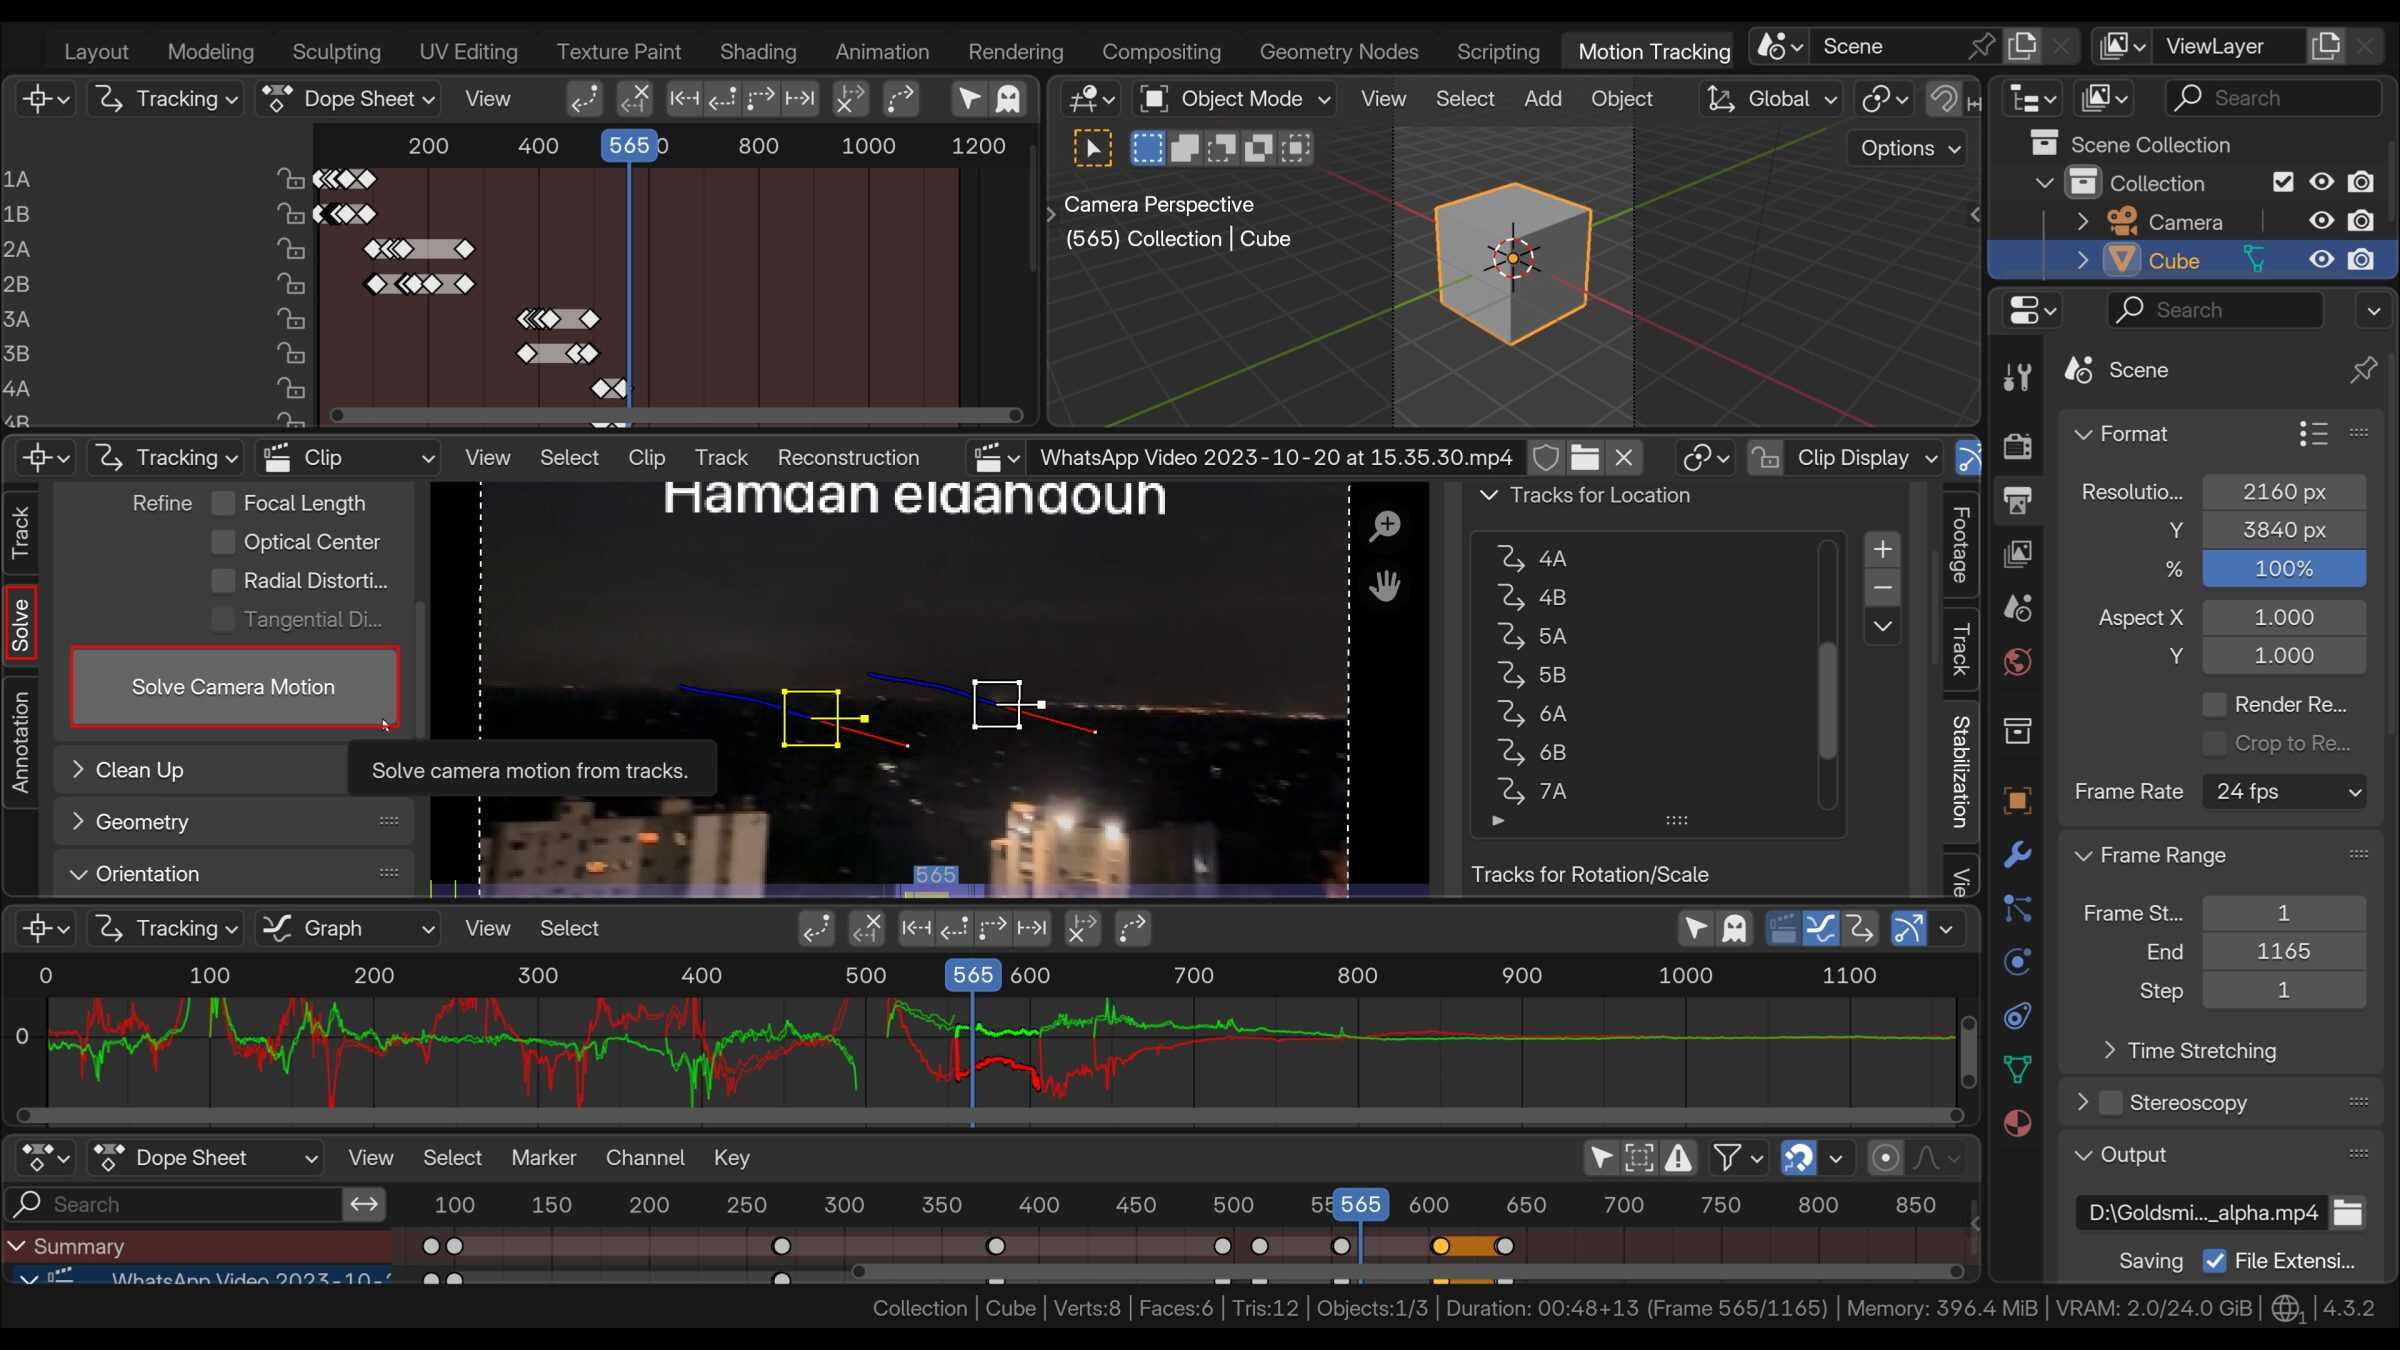
Reprojection Process
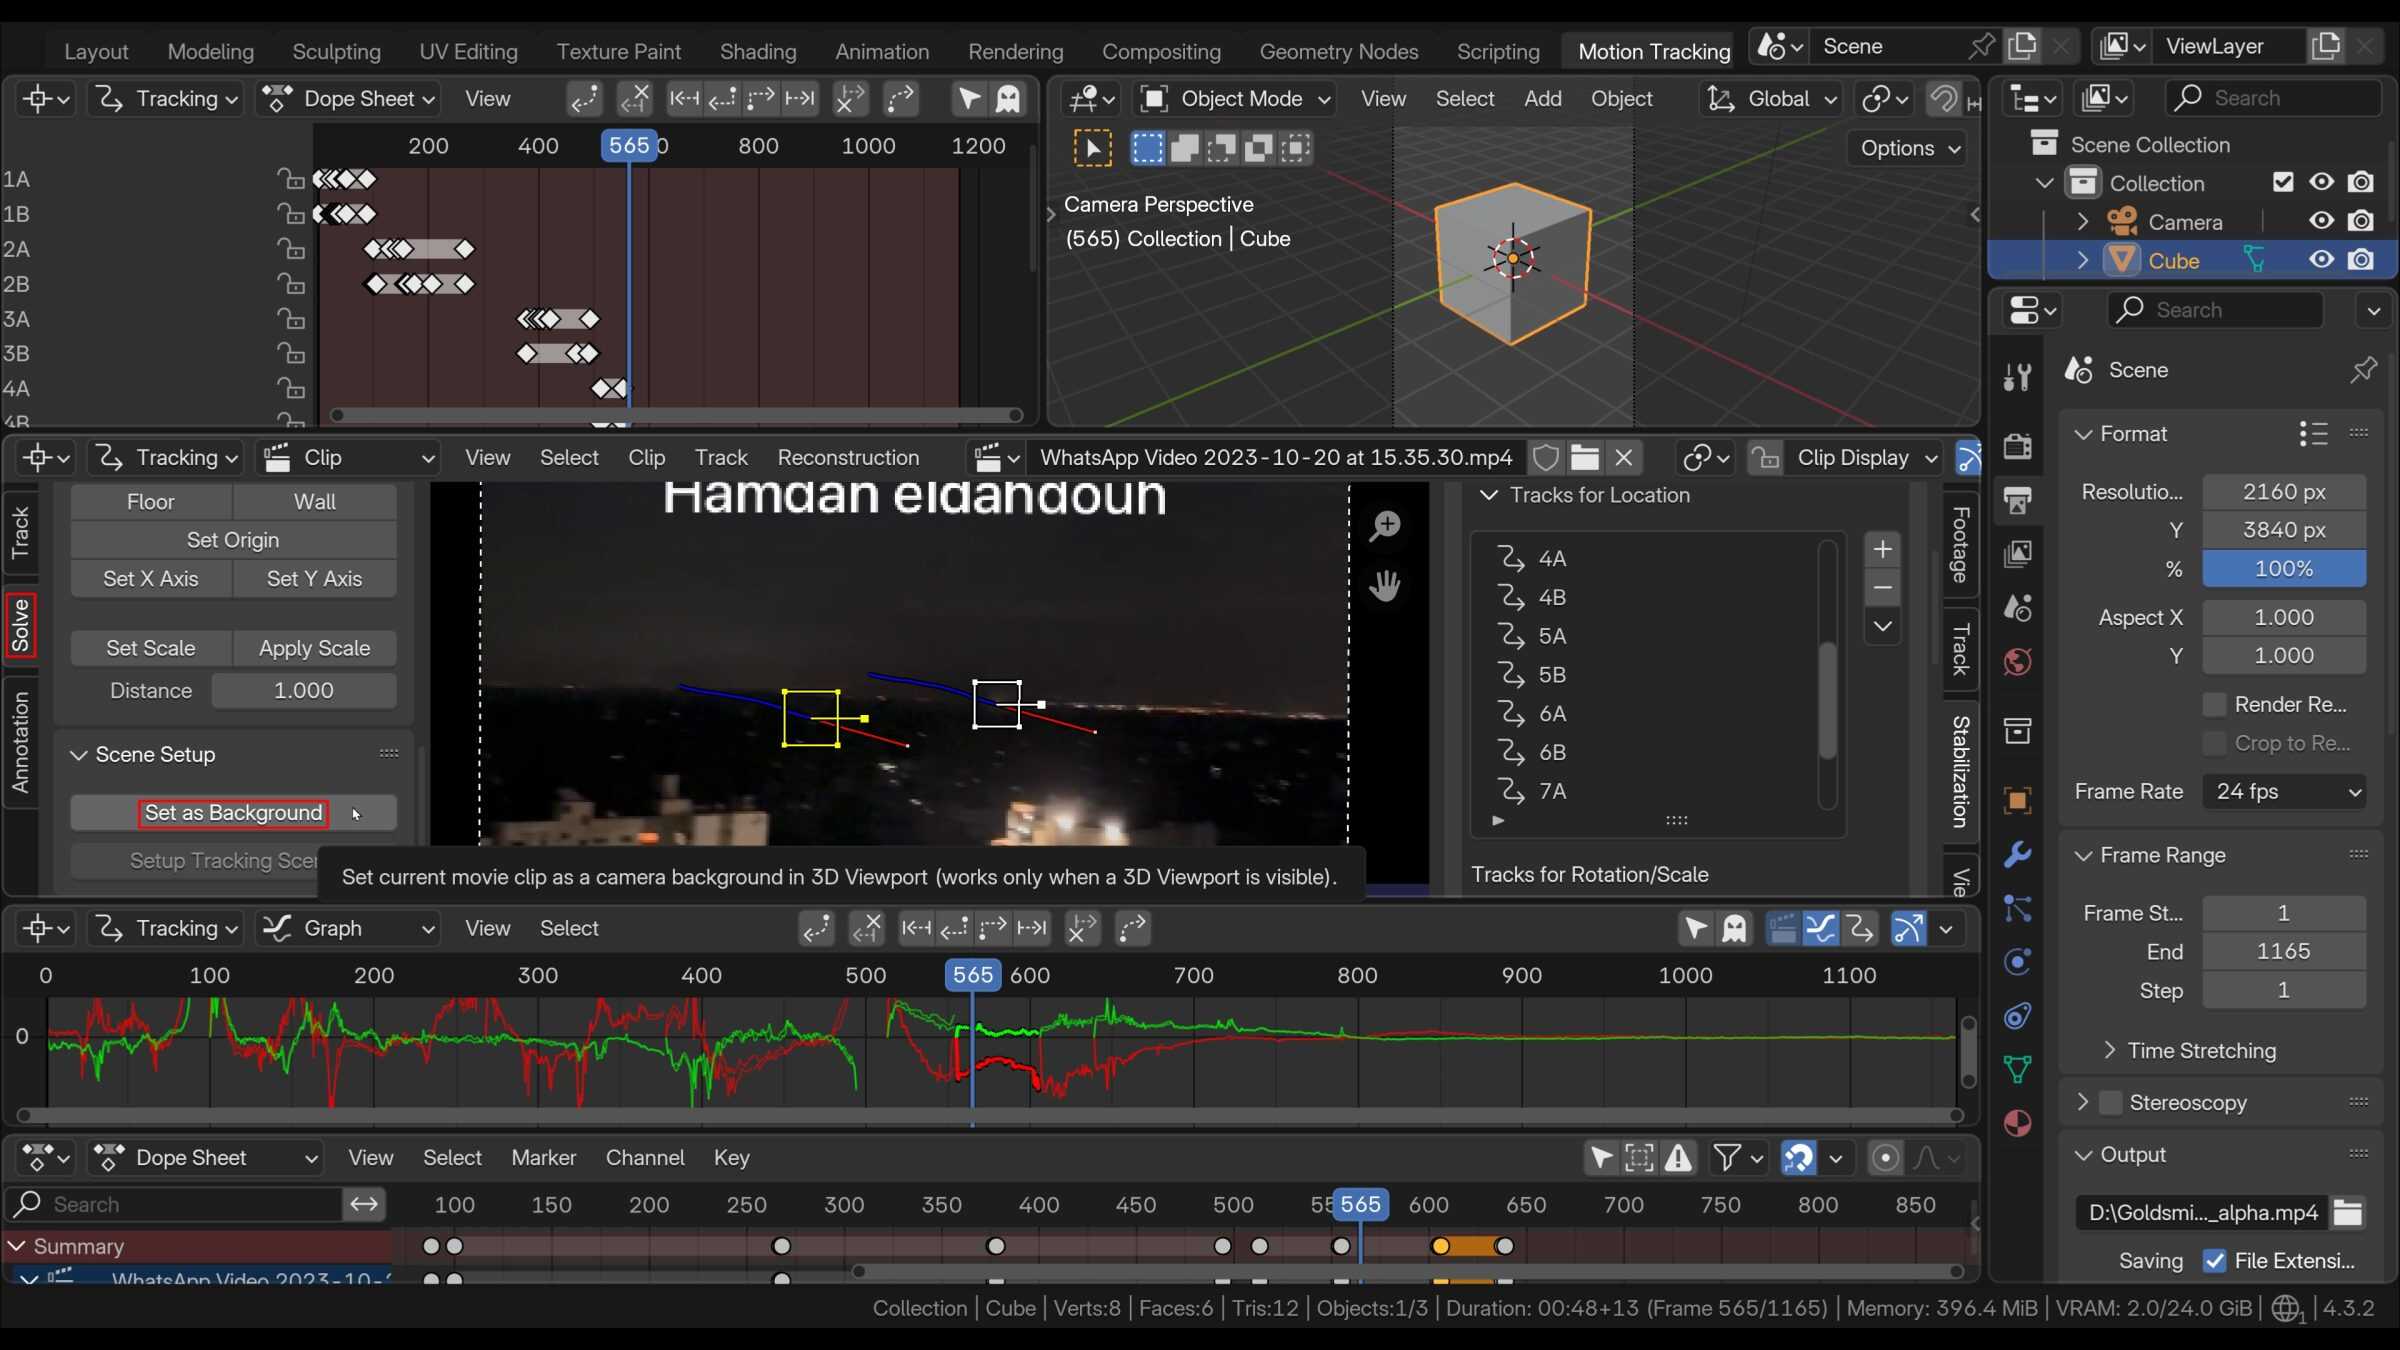
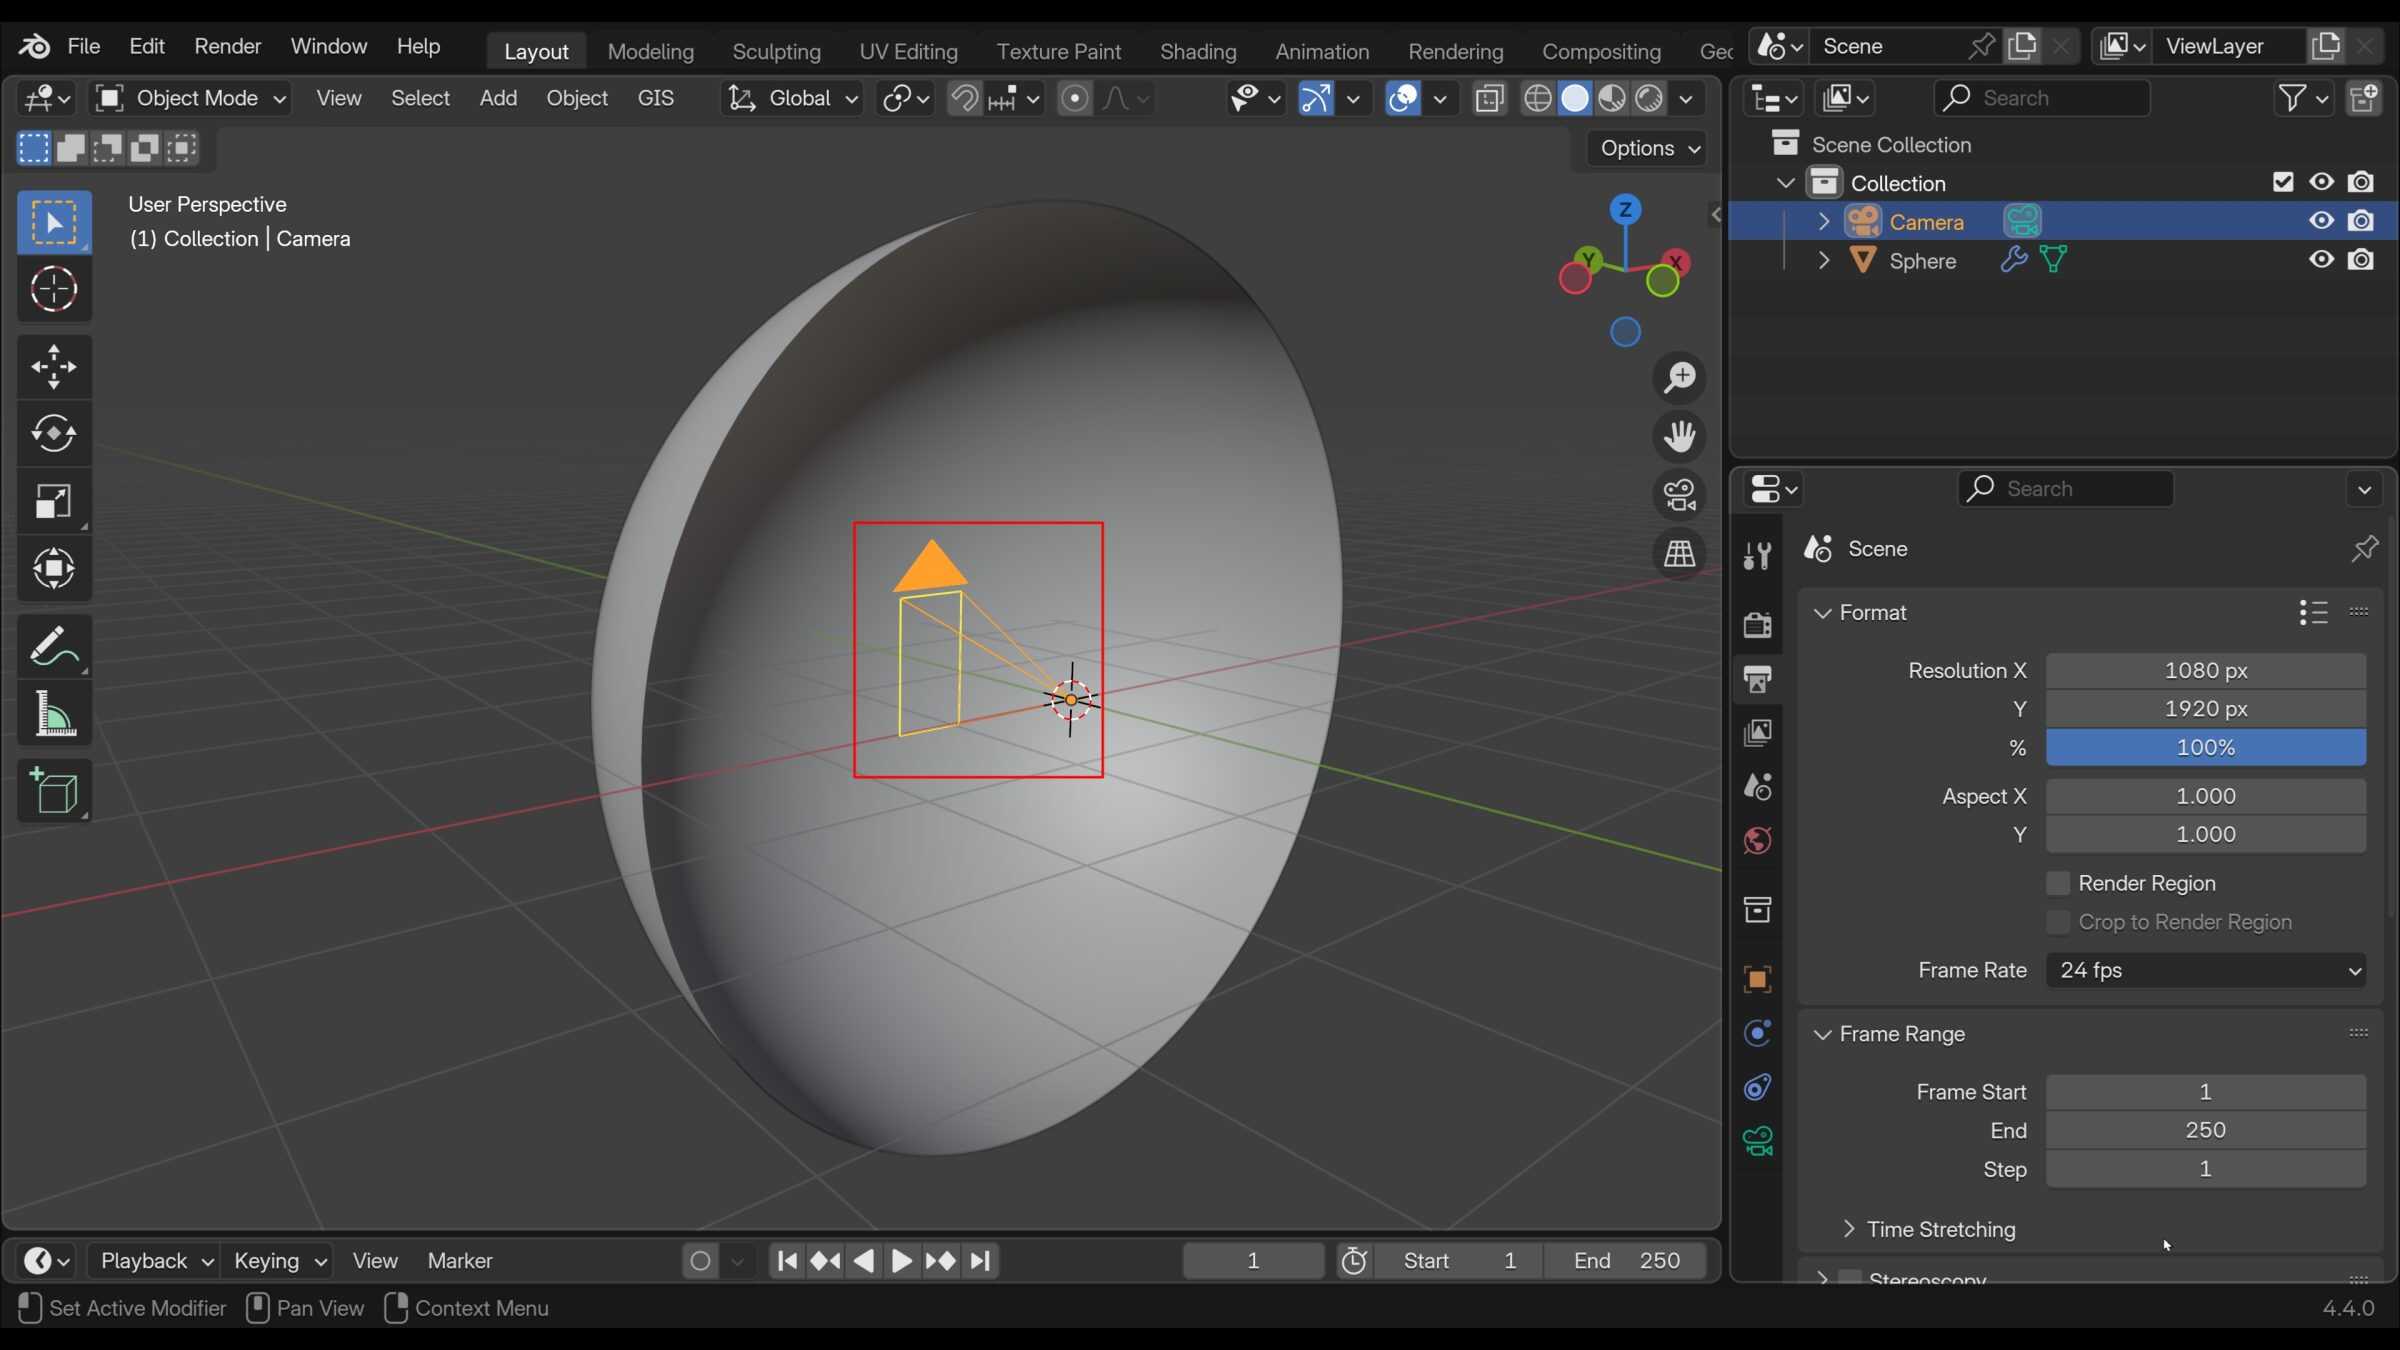
1. Set the solved camera motion as the background for a new 3D scene.
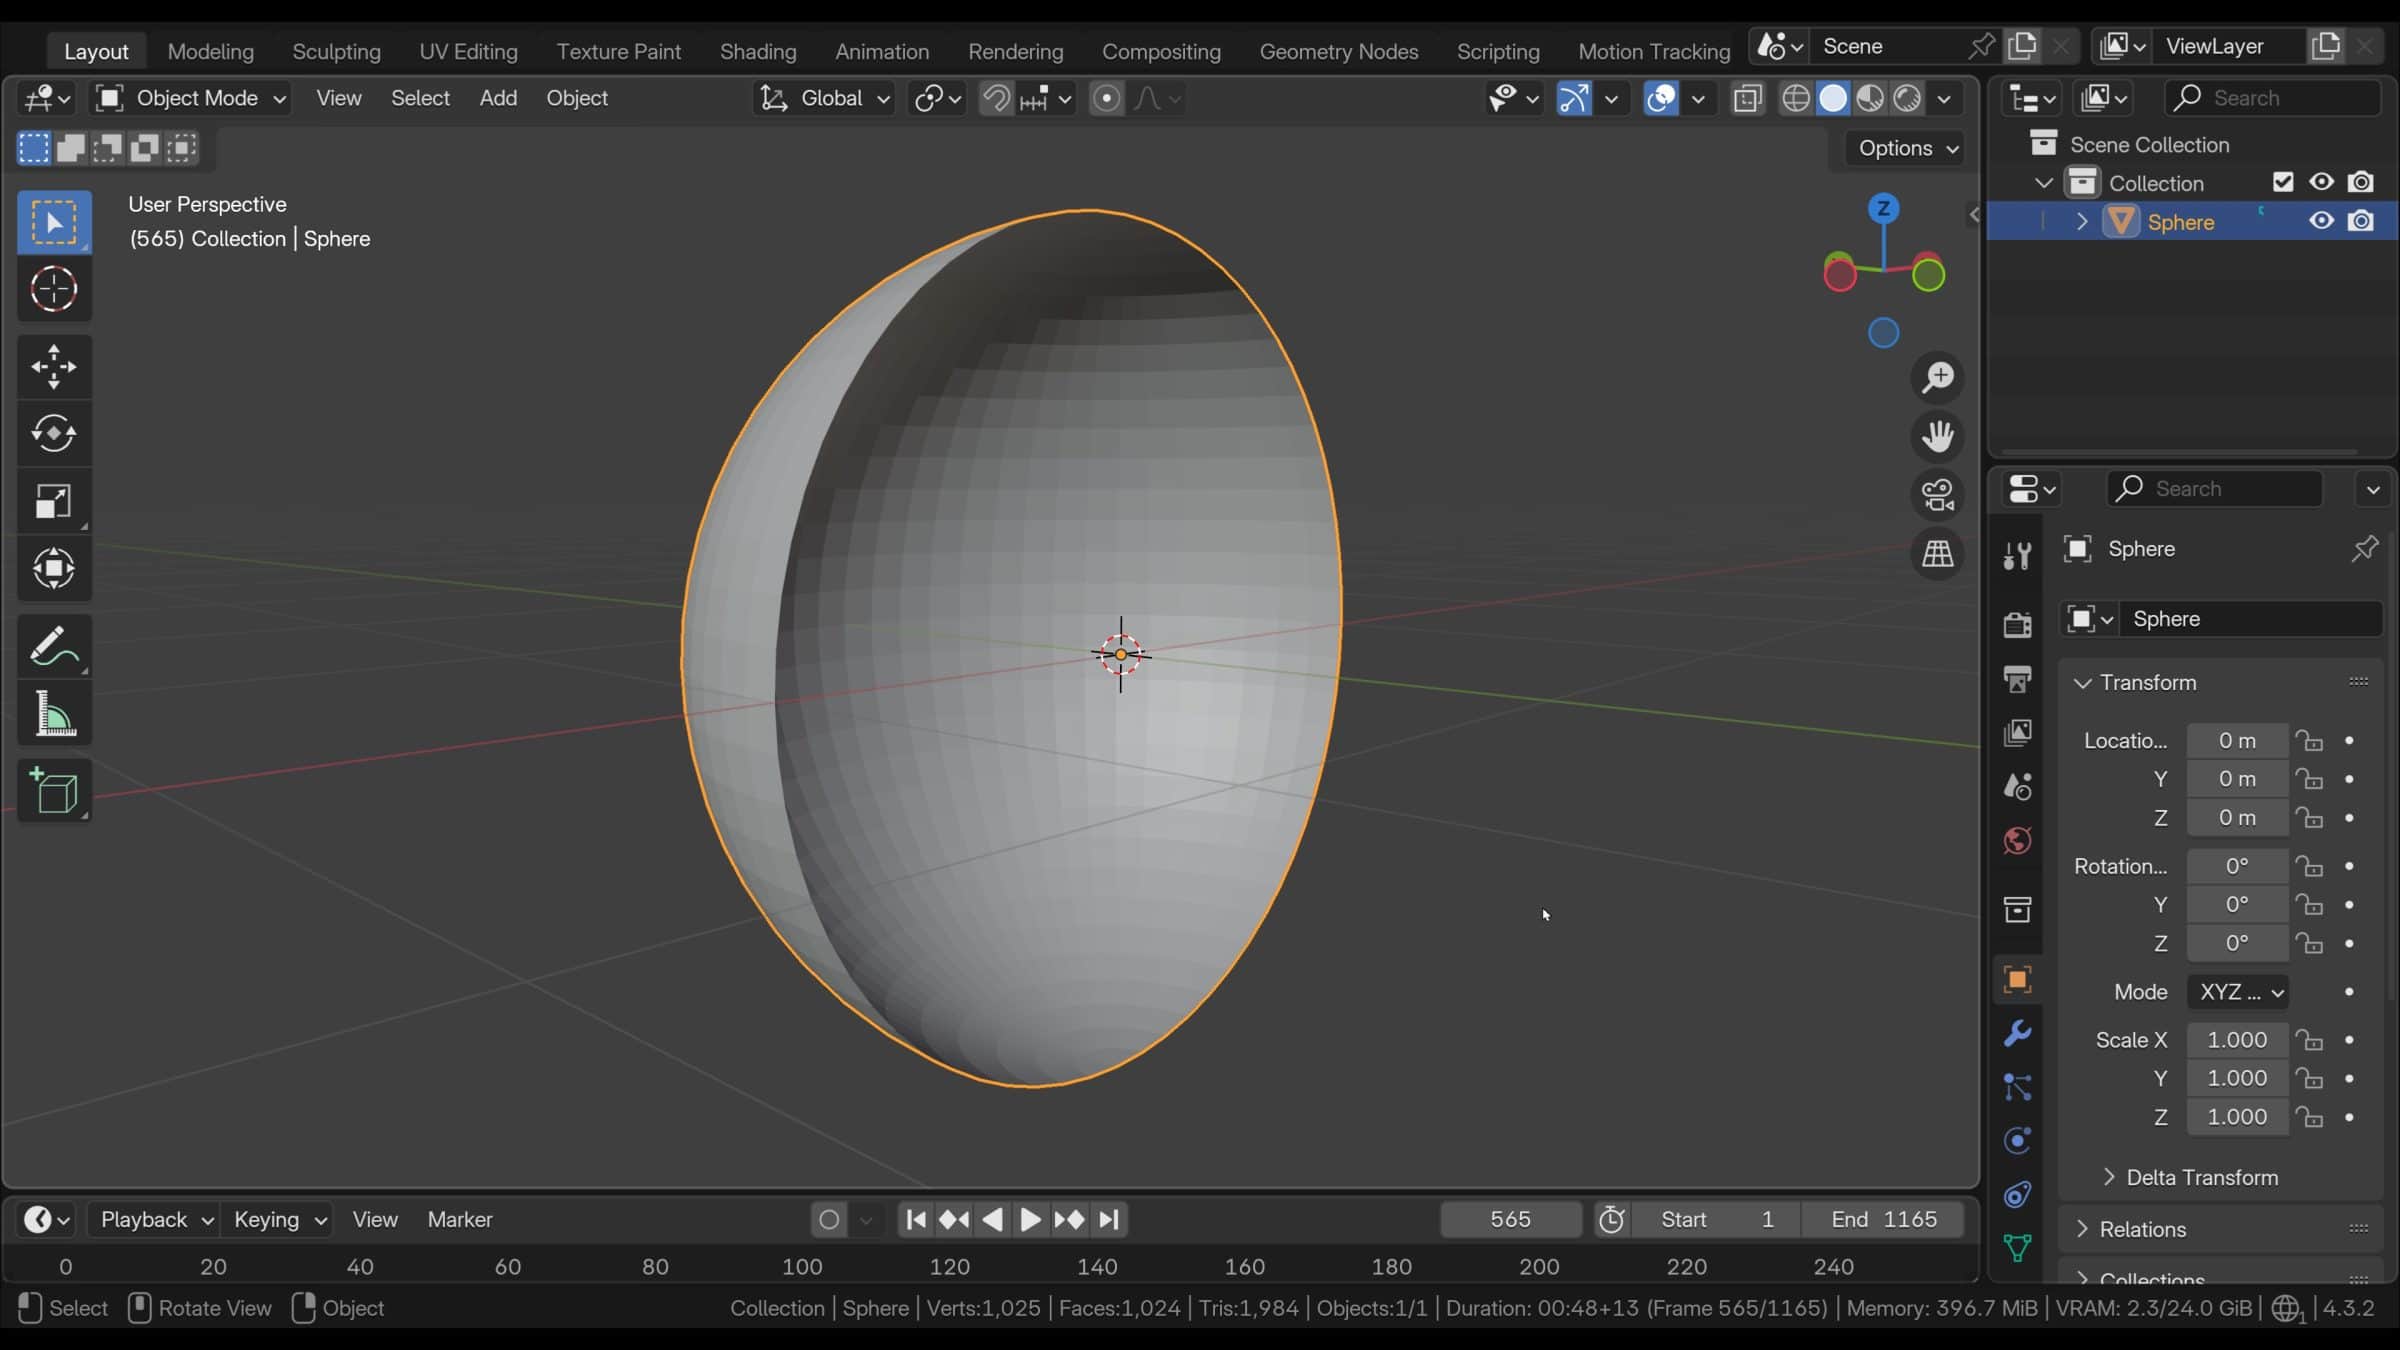
2. Create a sphere mesh and scale it up, deleting half for better visibility.
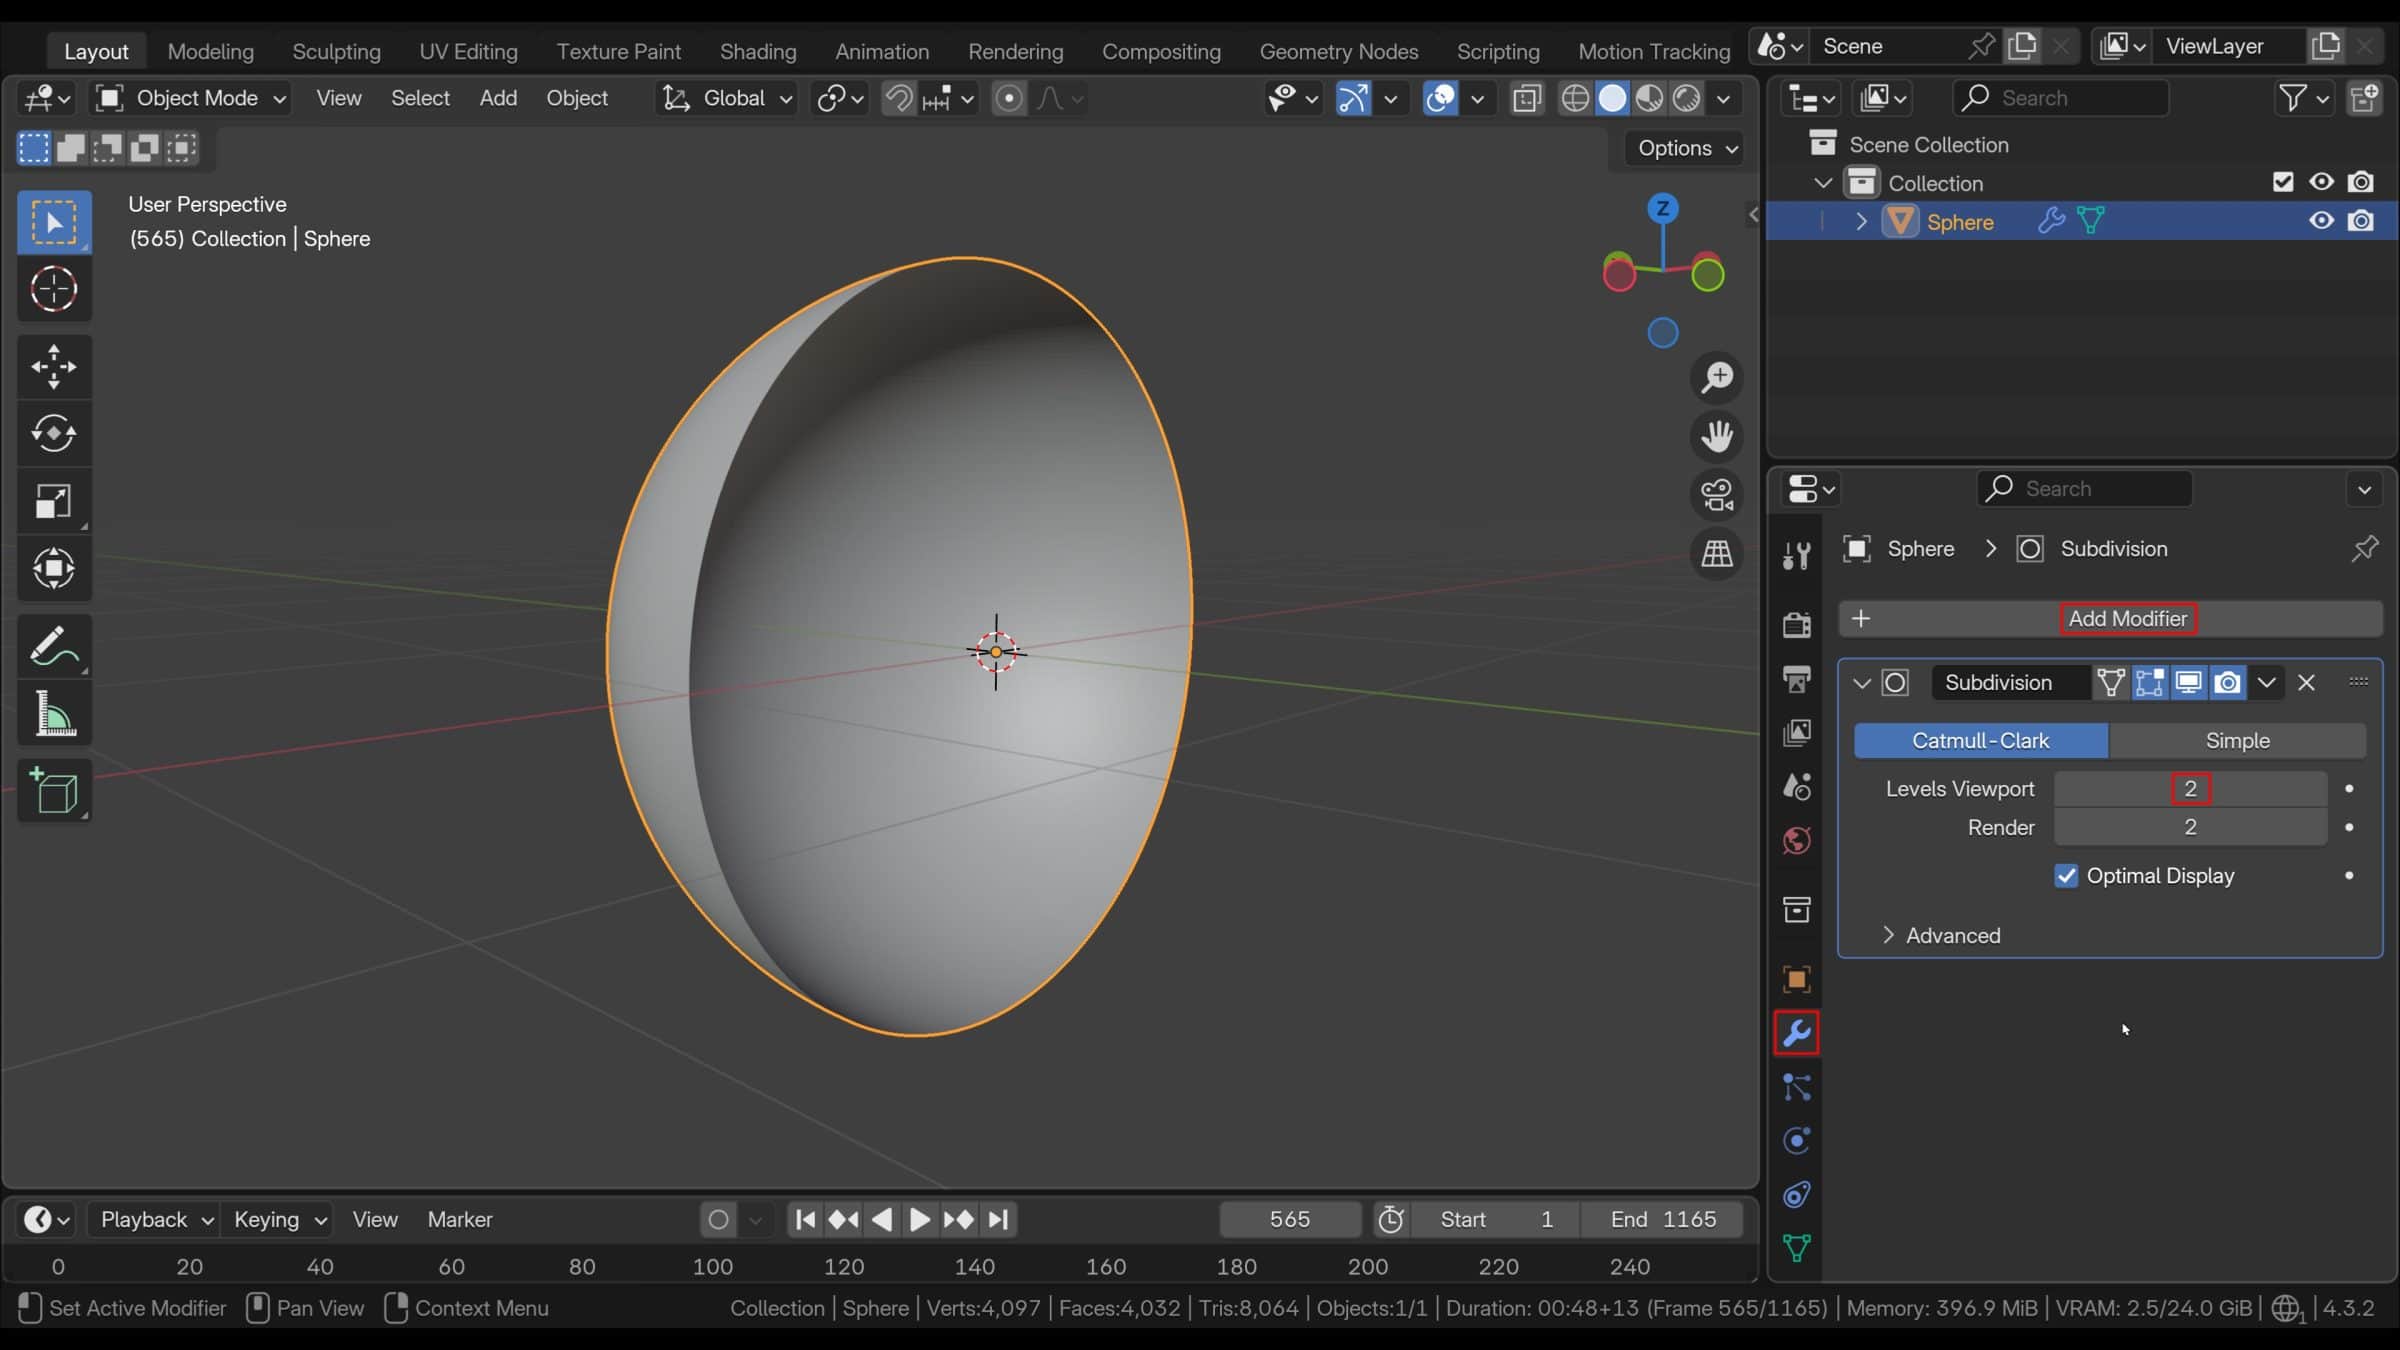
3. Add a subdivision surface modifier to the sphere for smoothness.
4. Rotate the camera to project onto the centre of the sphere’s interior.
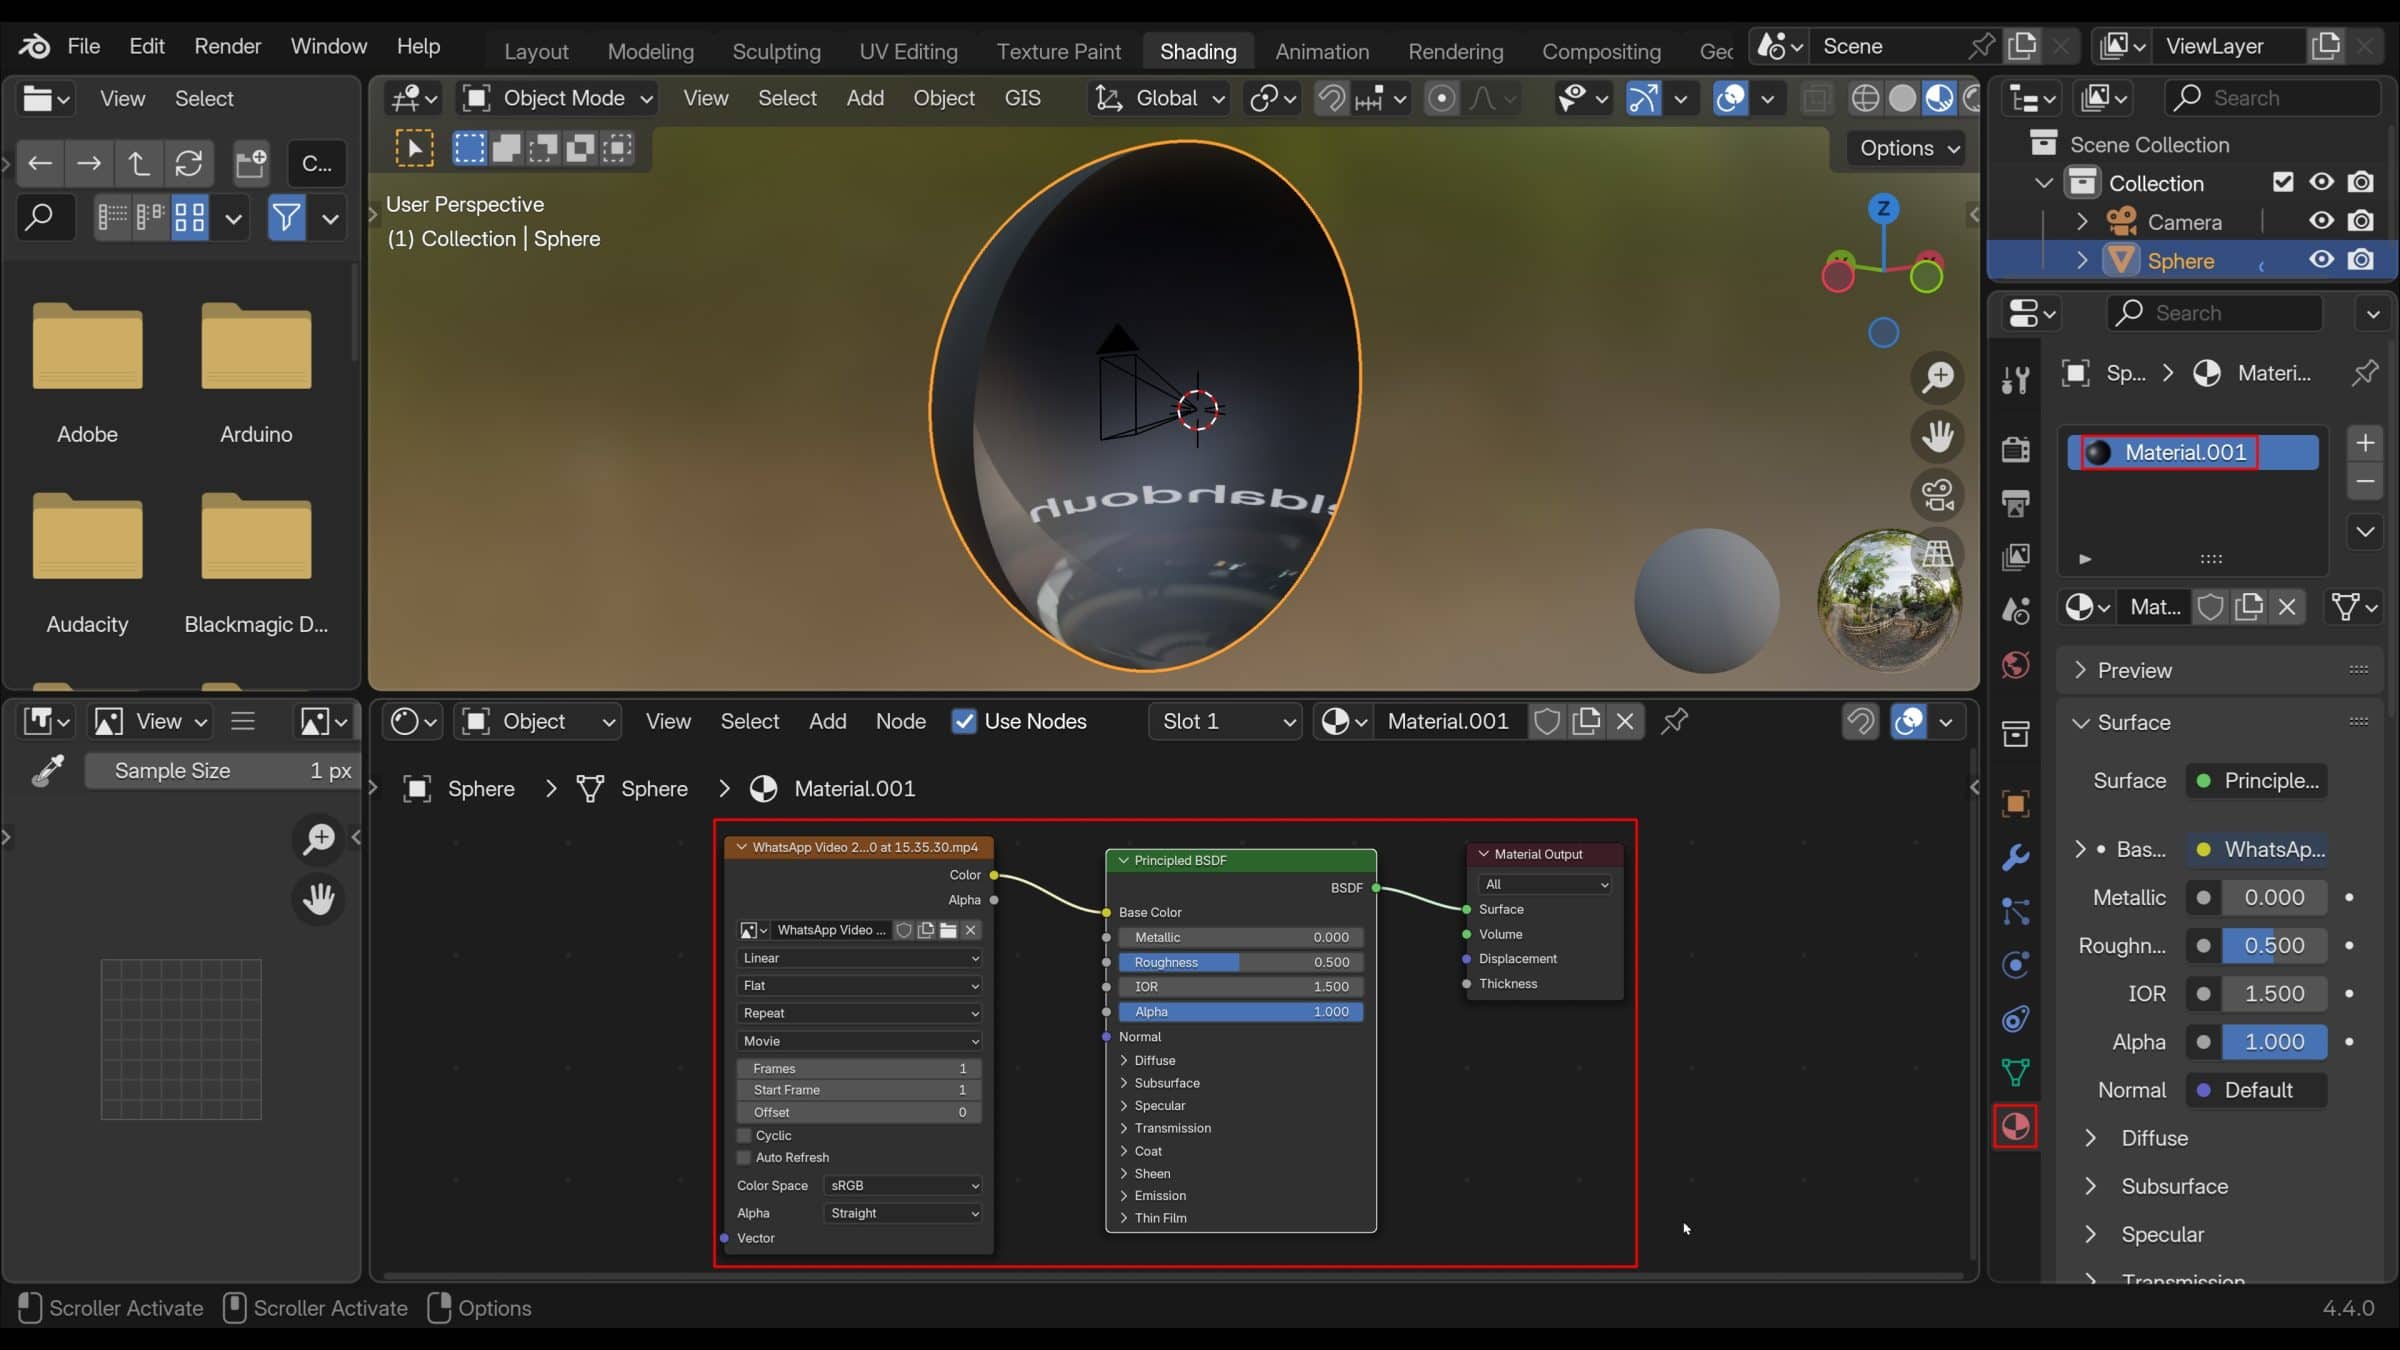
5. Add image texture of the original video clip to the sphere material.
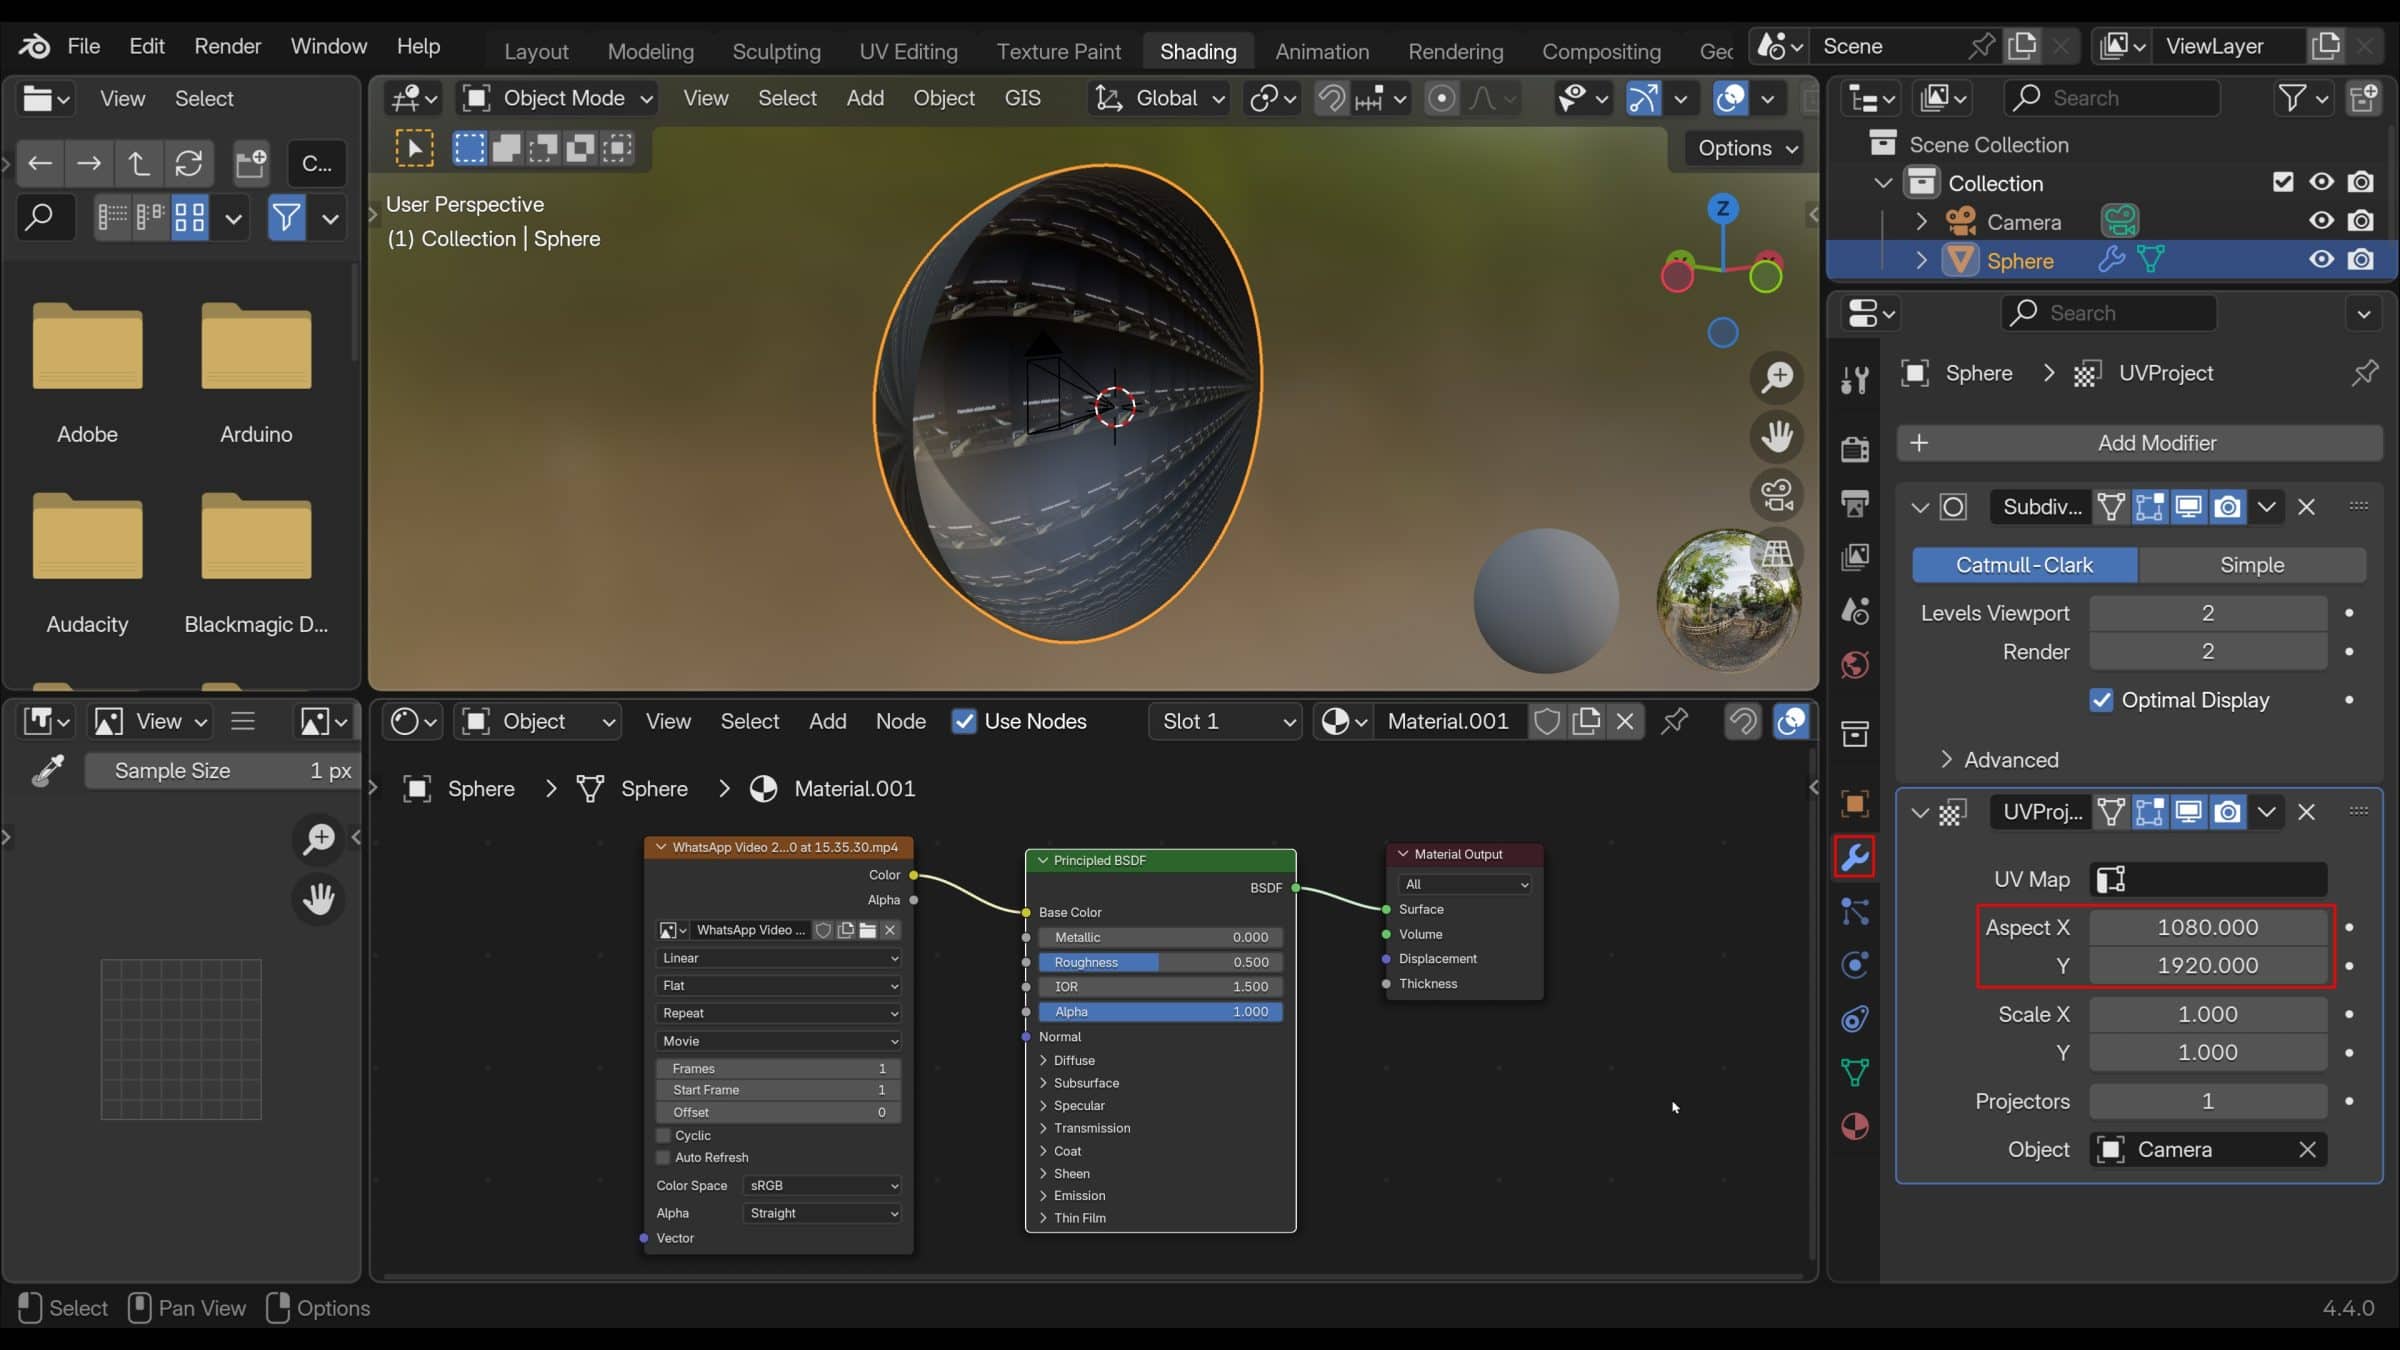
6. Add a UV Project modifier to the sphere and set it to use the camera as the projector. Be sure to set the aspect ratio of the modifier to match the video dimensions and select the camera as the projector object.
7. Adjust blending modes, roughness, and shader types (e.g., Emission) for better visibility of the projected video.
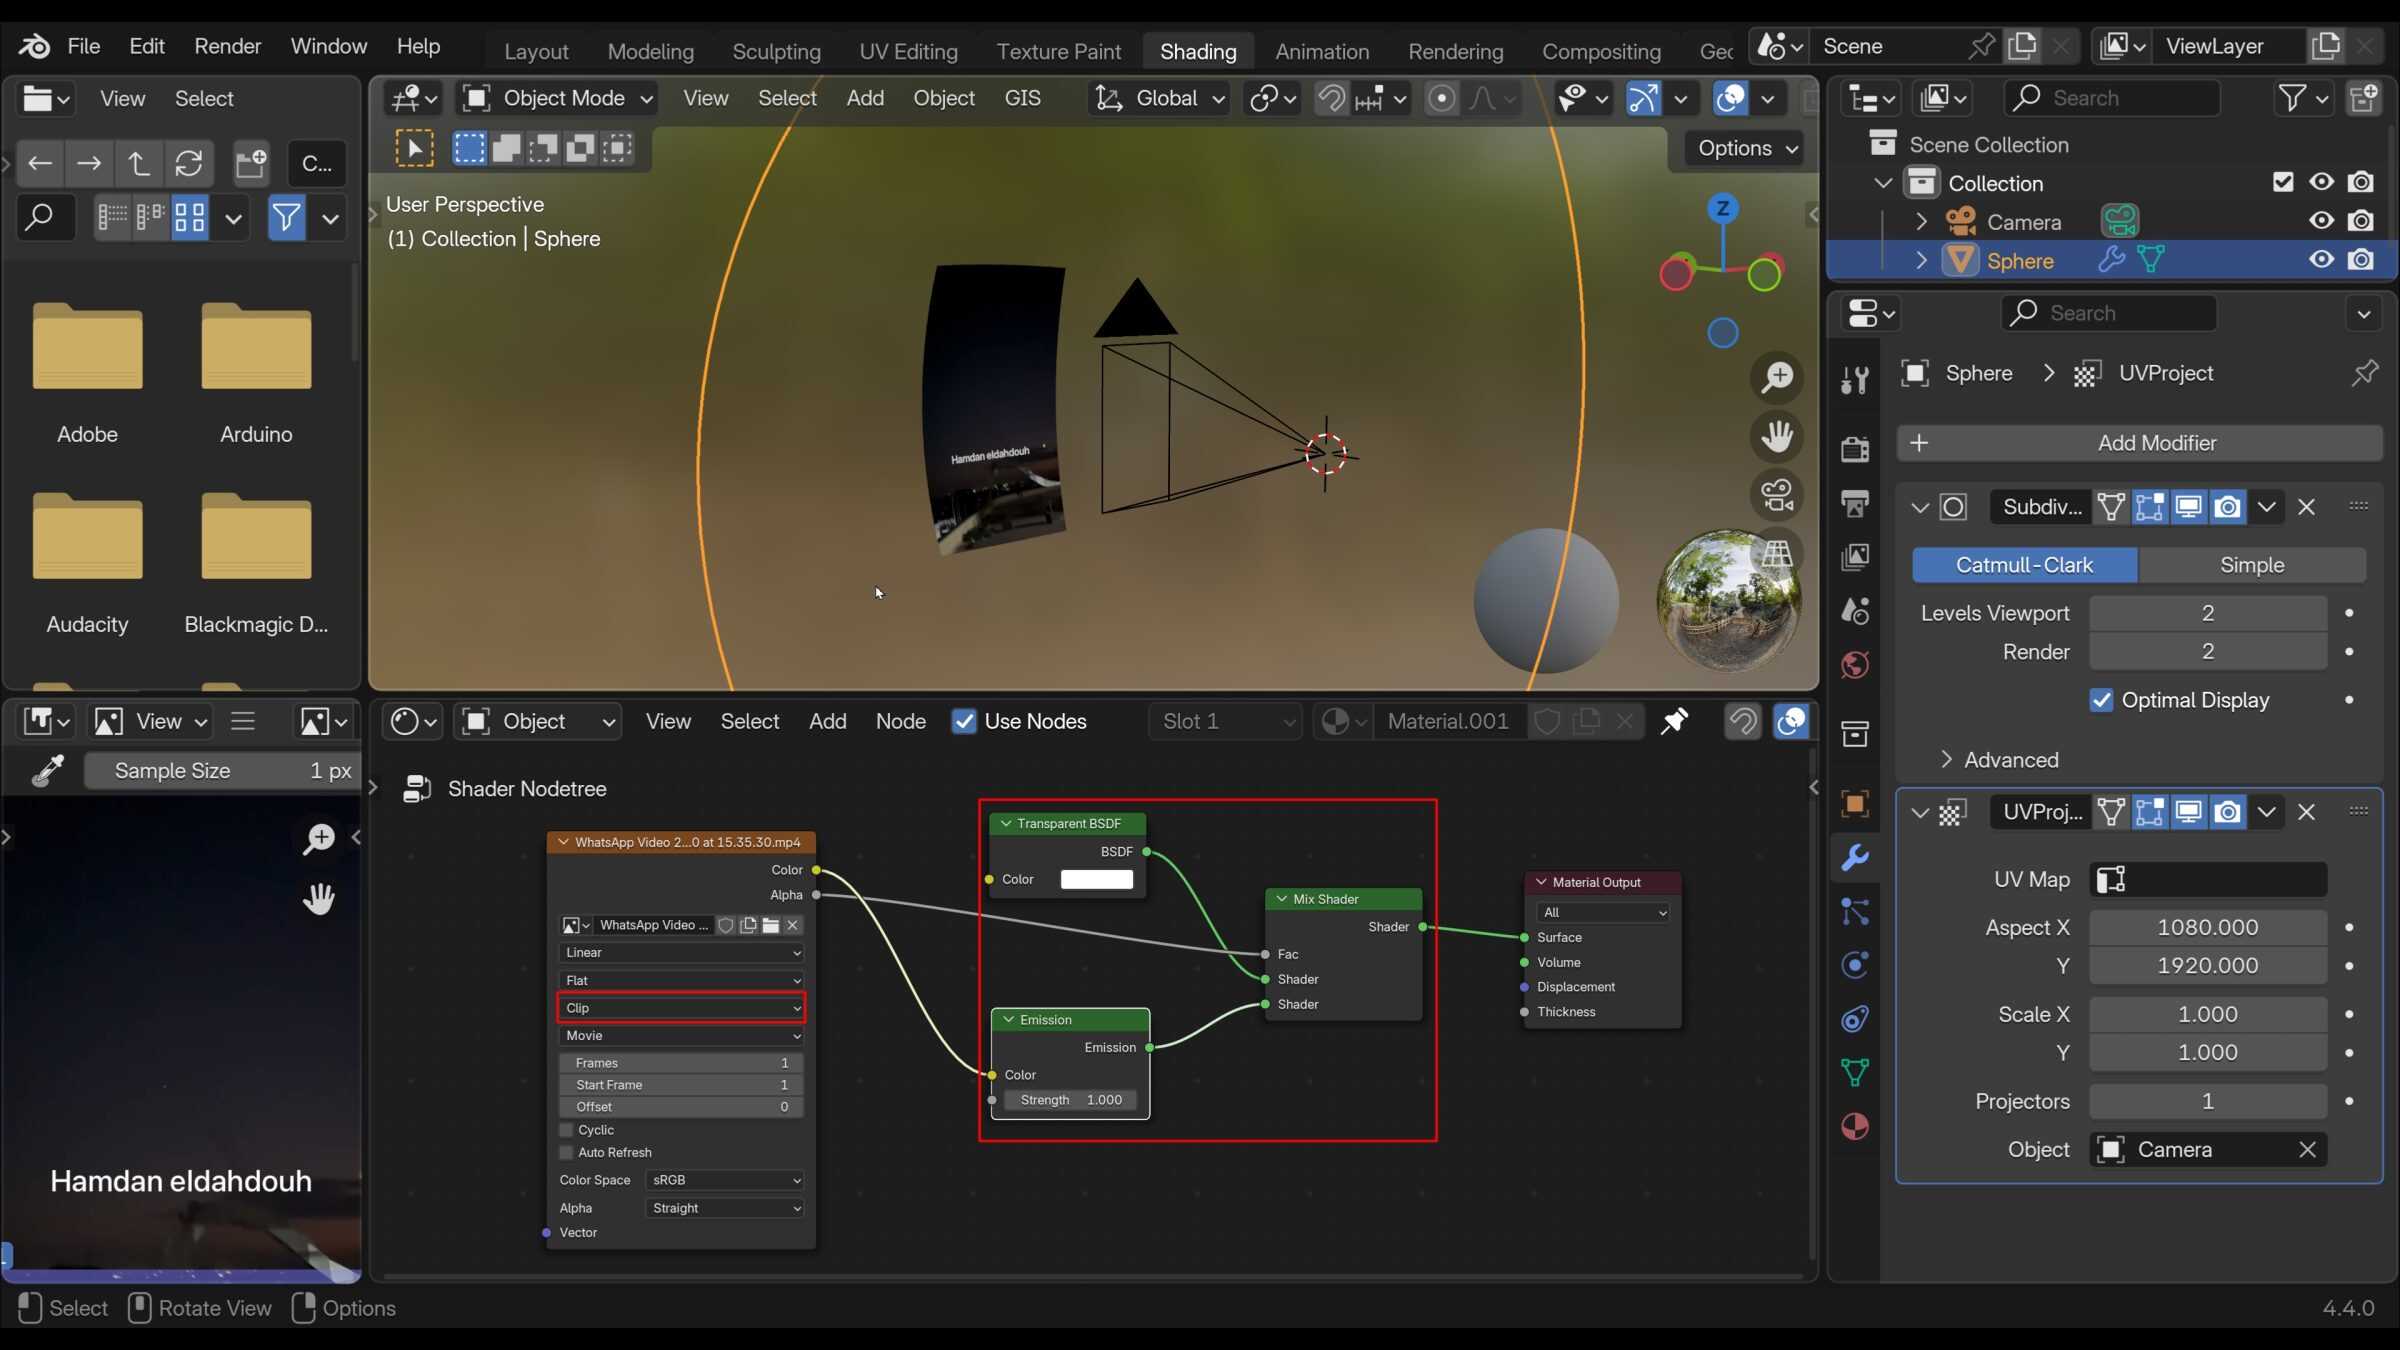
8. The resulting setup shows the stabilised video projected onto the 3D sphere, allowing for analysis, modelling, and tracking of points in 3D space.